


How We Installed Wood Plank Ceilings (And Why I'd Do It Again)
DIY Wood Ceiling Tutorial: Affordable & Beautiful

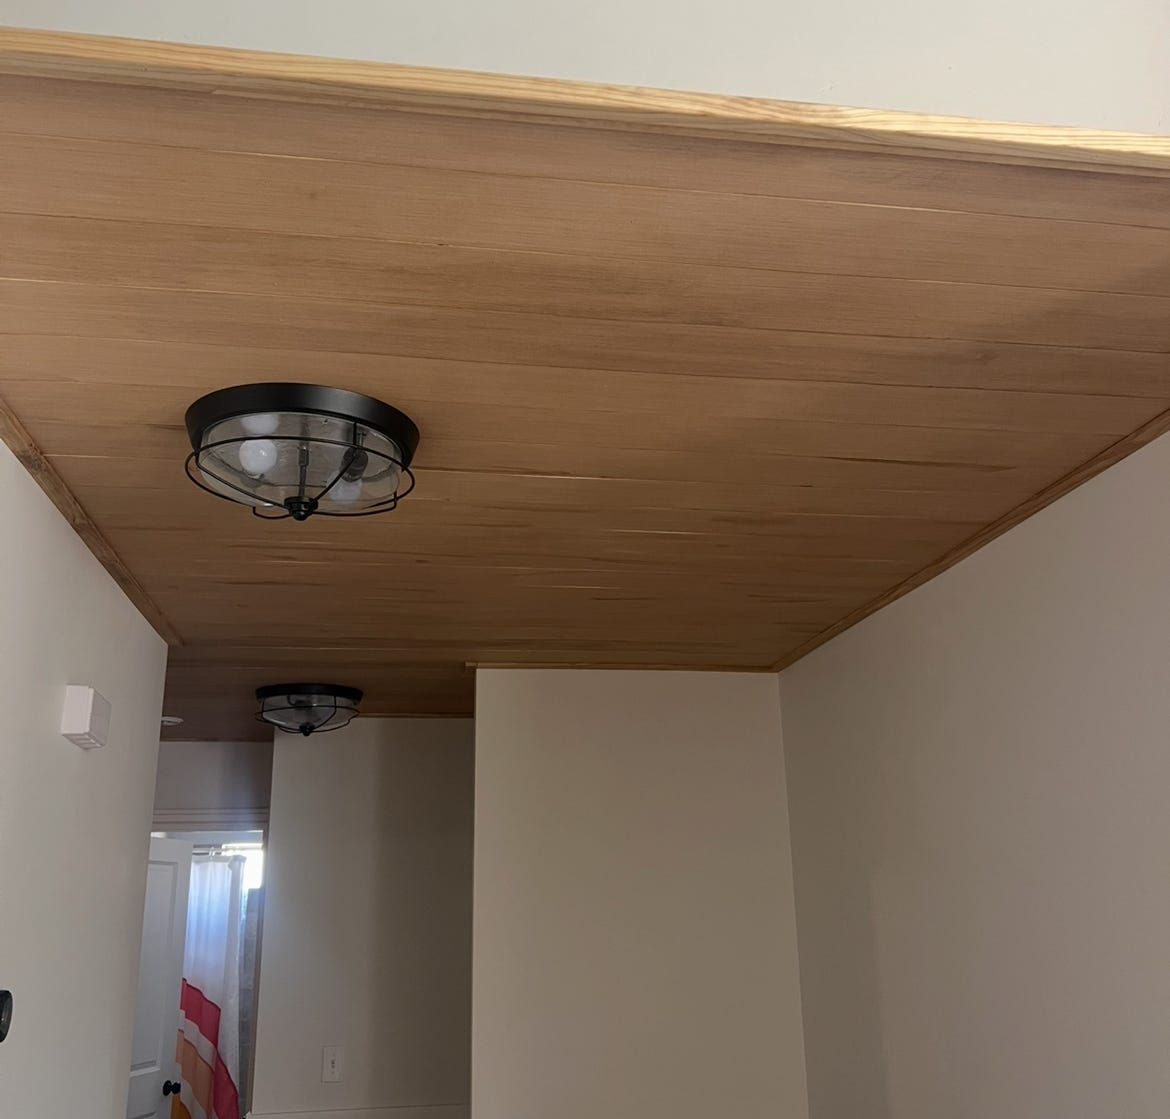
This ceiling might be one of the most underrated upgrades we’ve done. It completely transformed the space—adding warmth, texture, and charm in a way that paint or decor never could. And the best part? It was surprisingly budget-friendly.
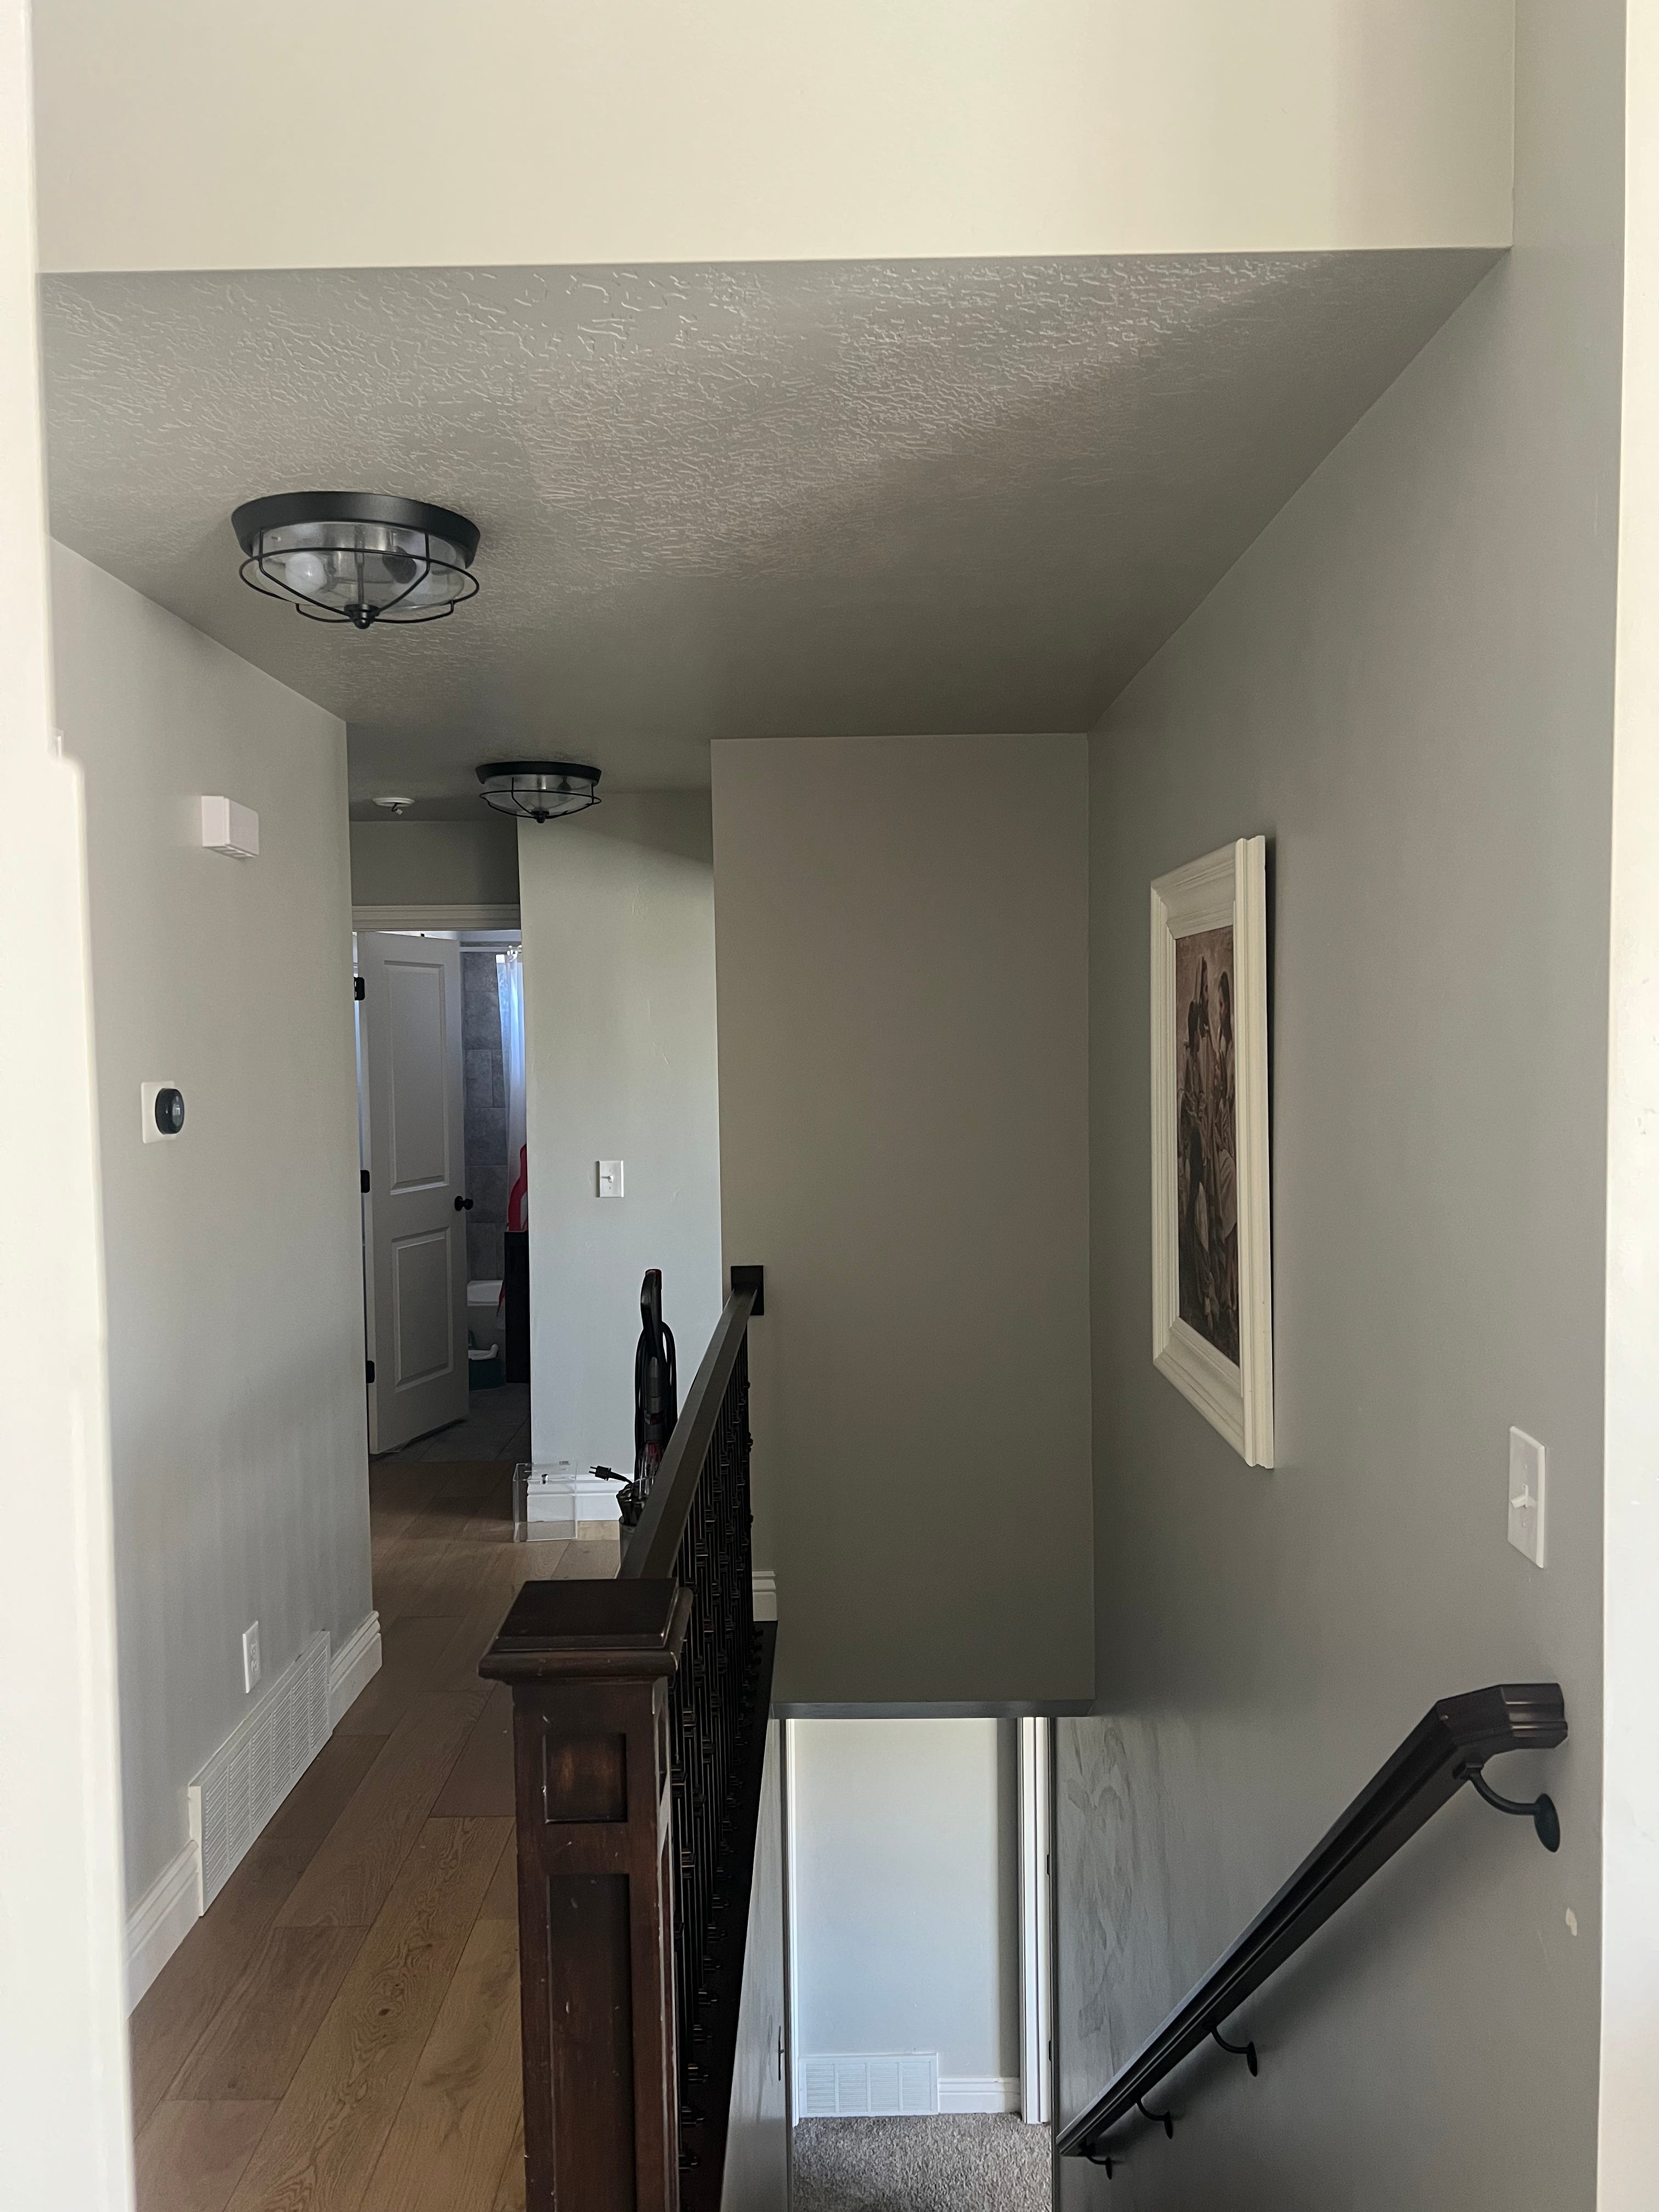
I’d been wanting to update our hallway for a while, and after I landed on a board and batten design for the walls, I immediately pictured wood plank ceilings to complete the look. Of course, I did what I do best: over-research, overthink, talk myself out of it… and then eventually decide it’s what I love and go for it anyway. 😂
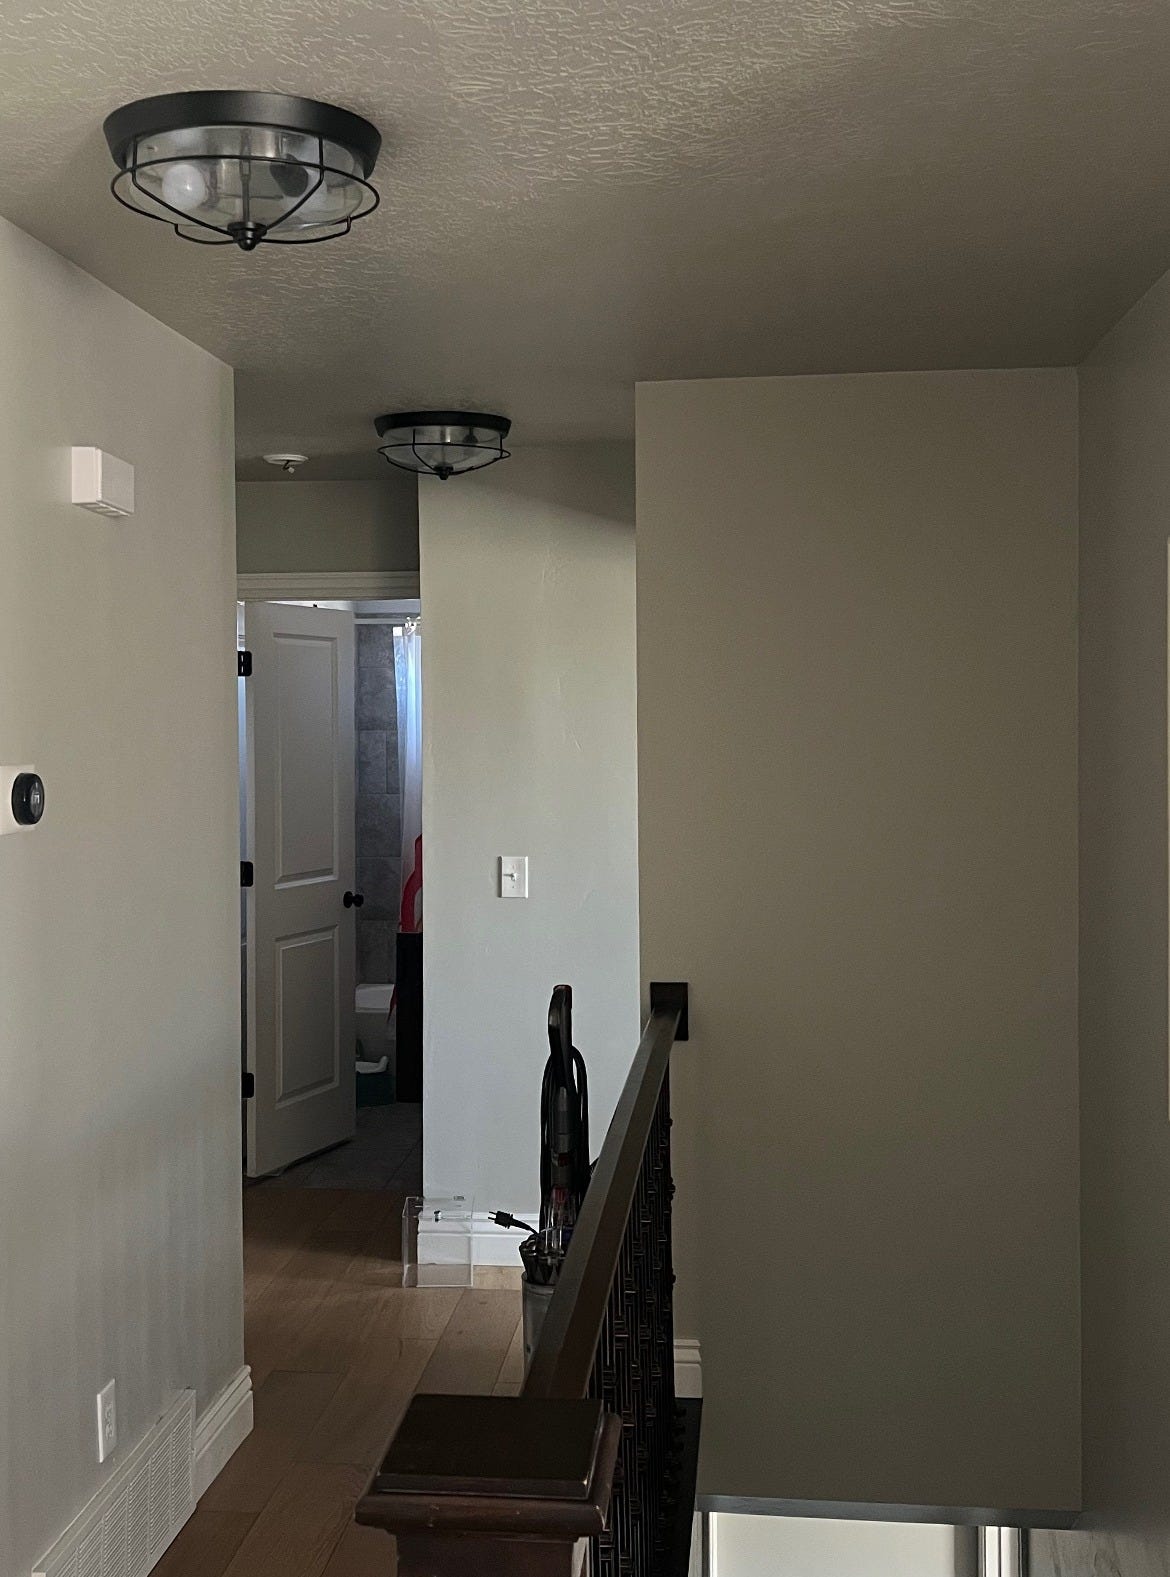
I’ve always loved the cozy, timeless look of wood plank ceilings—they bring in the character I want our home to exude. And since our hallway has standard 8 ft ceilings (unlike the vaulted ones in our living room and bedroom), it felt like the perfect space to test this DIY out.
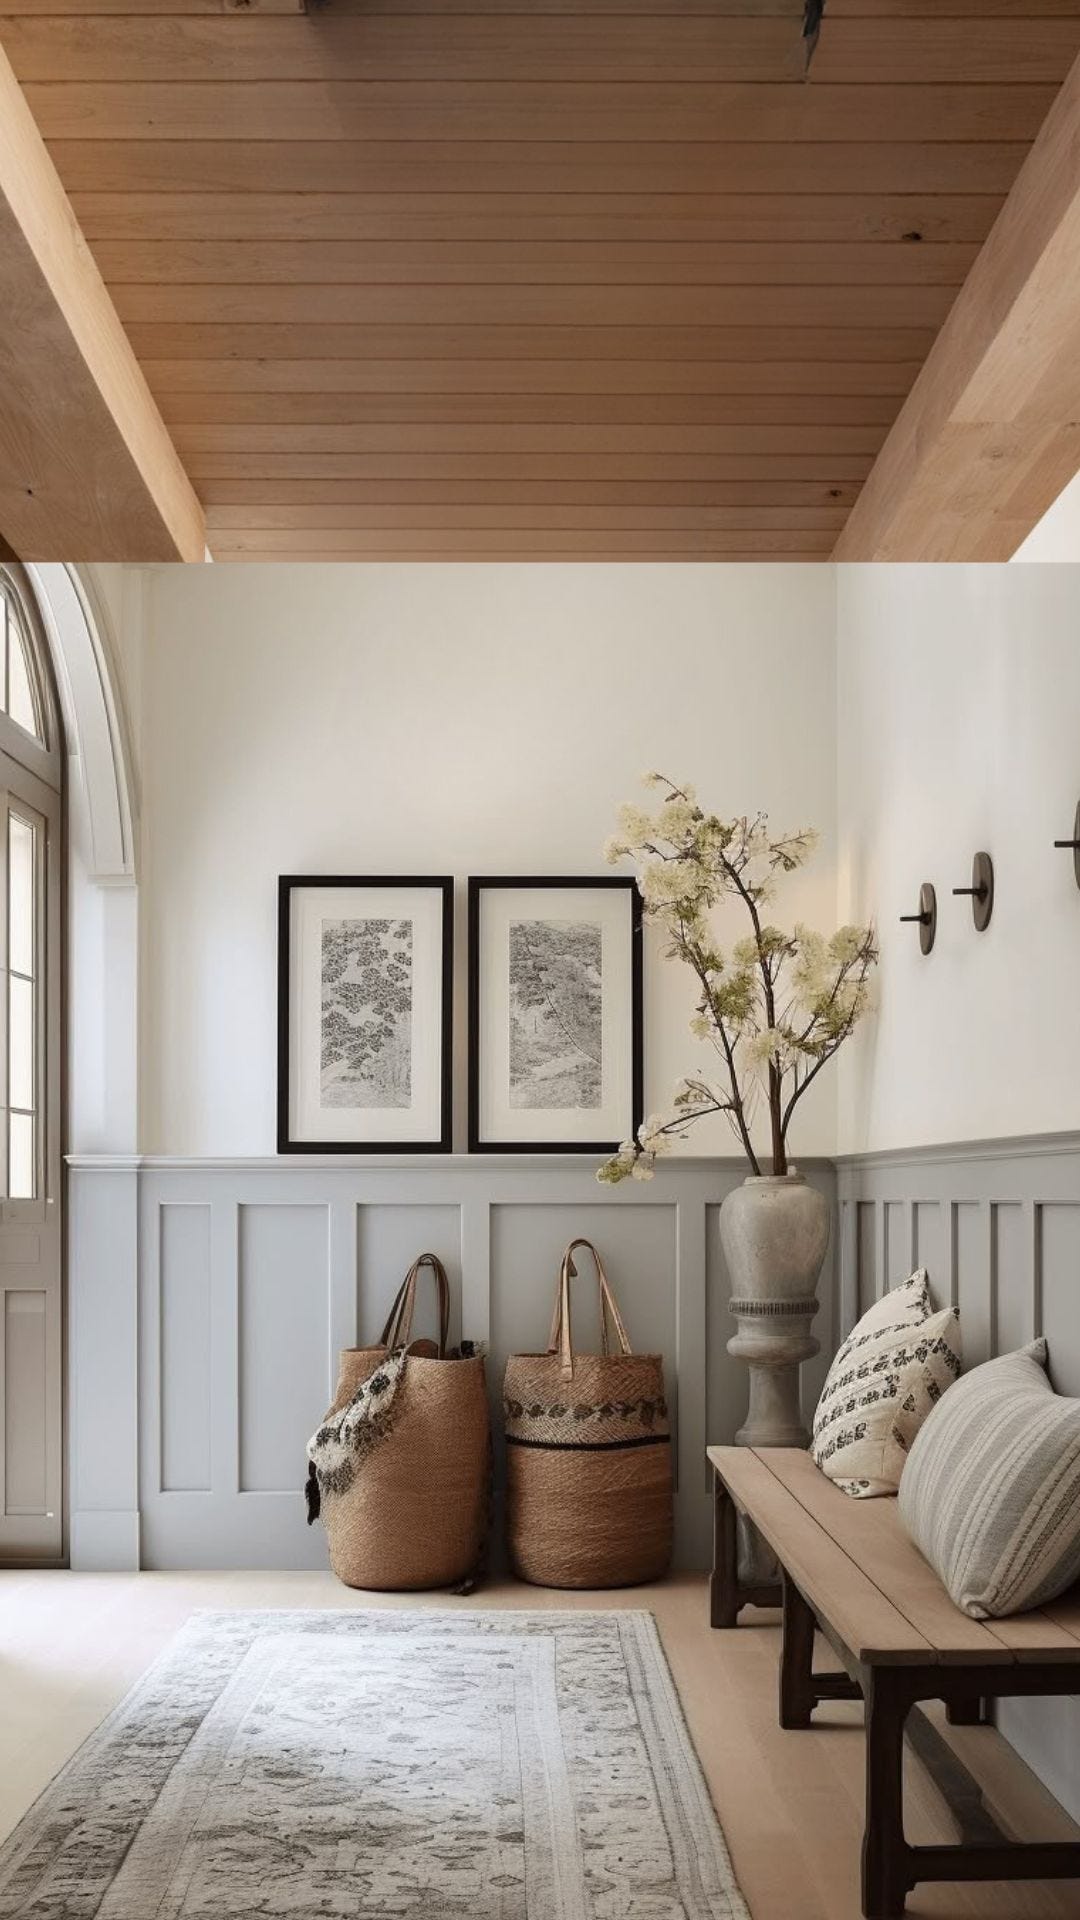
And here is the Inspo.
Plank Direction Debate
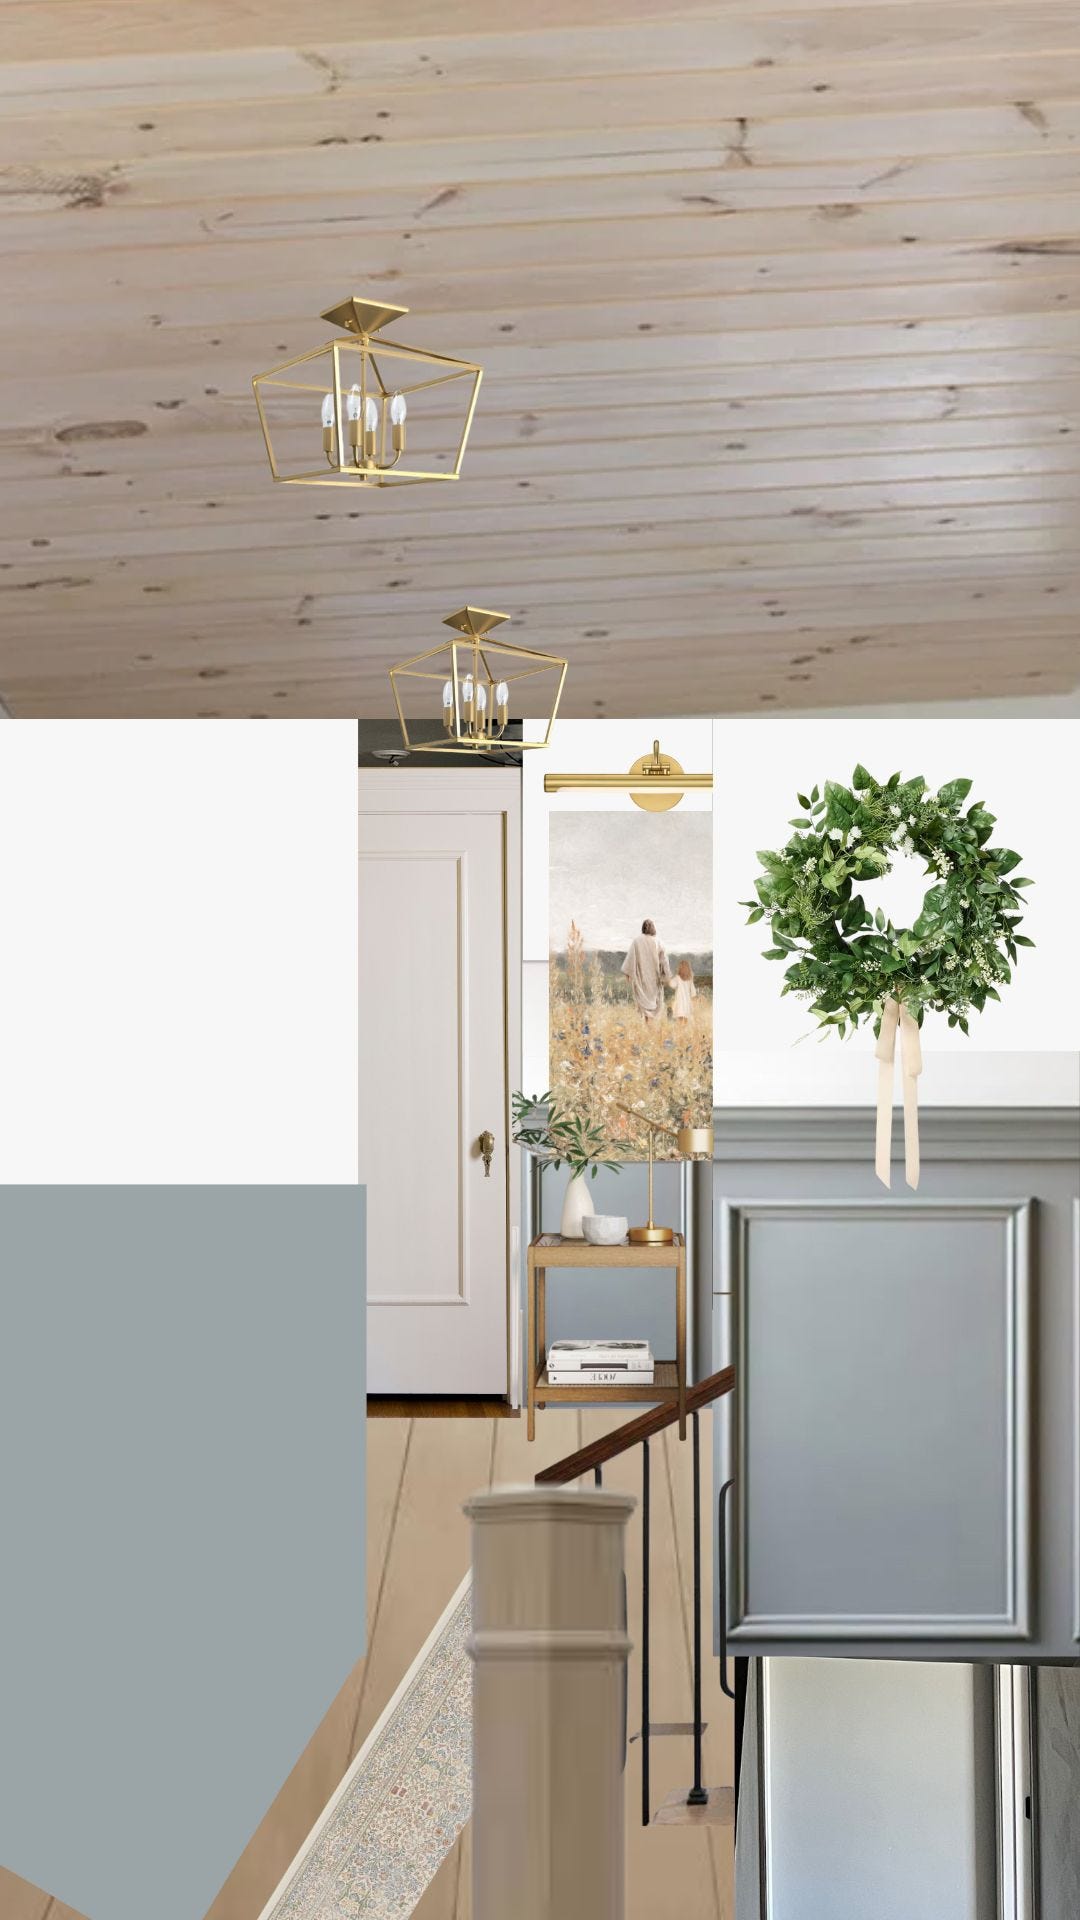
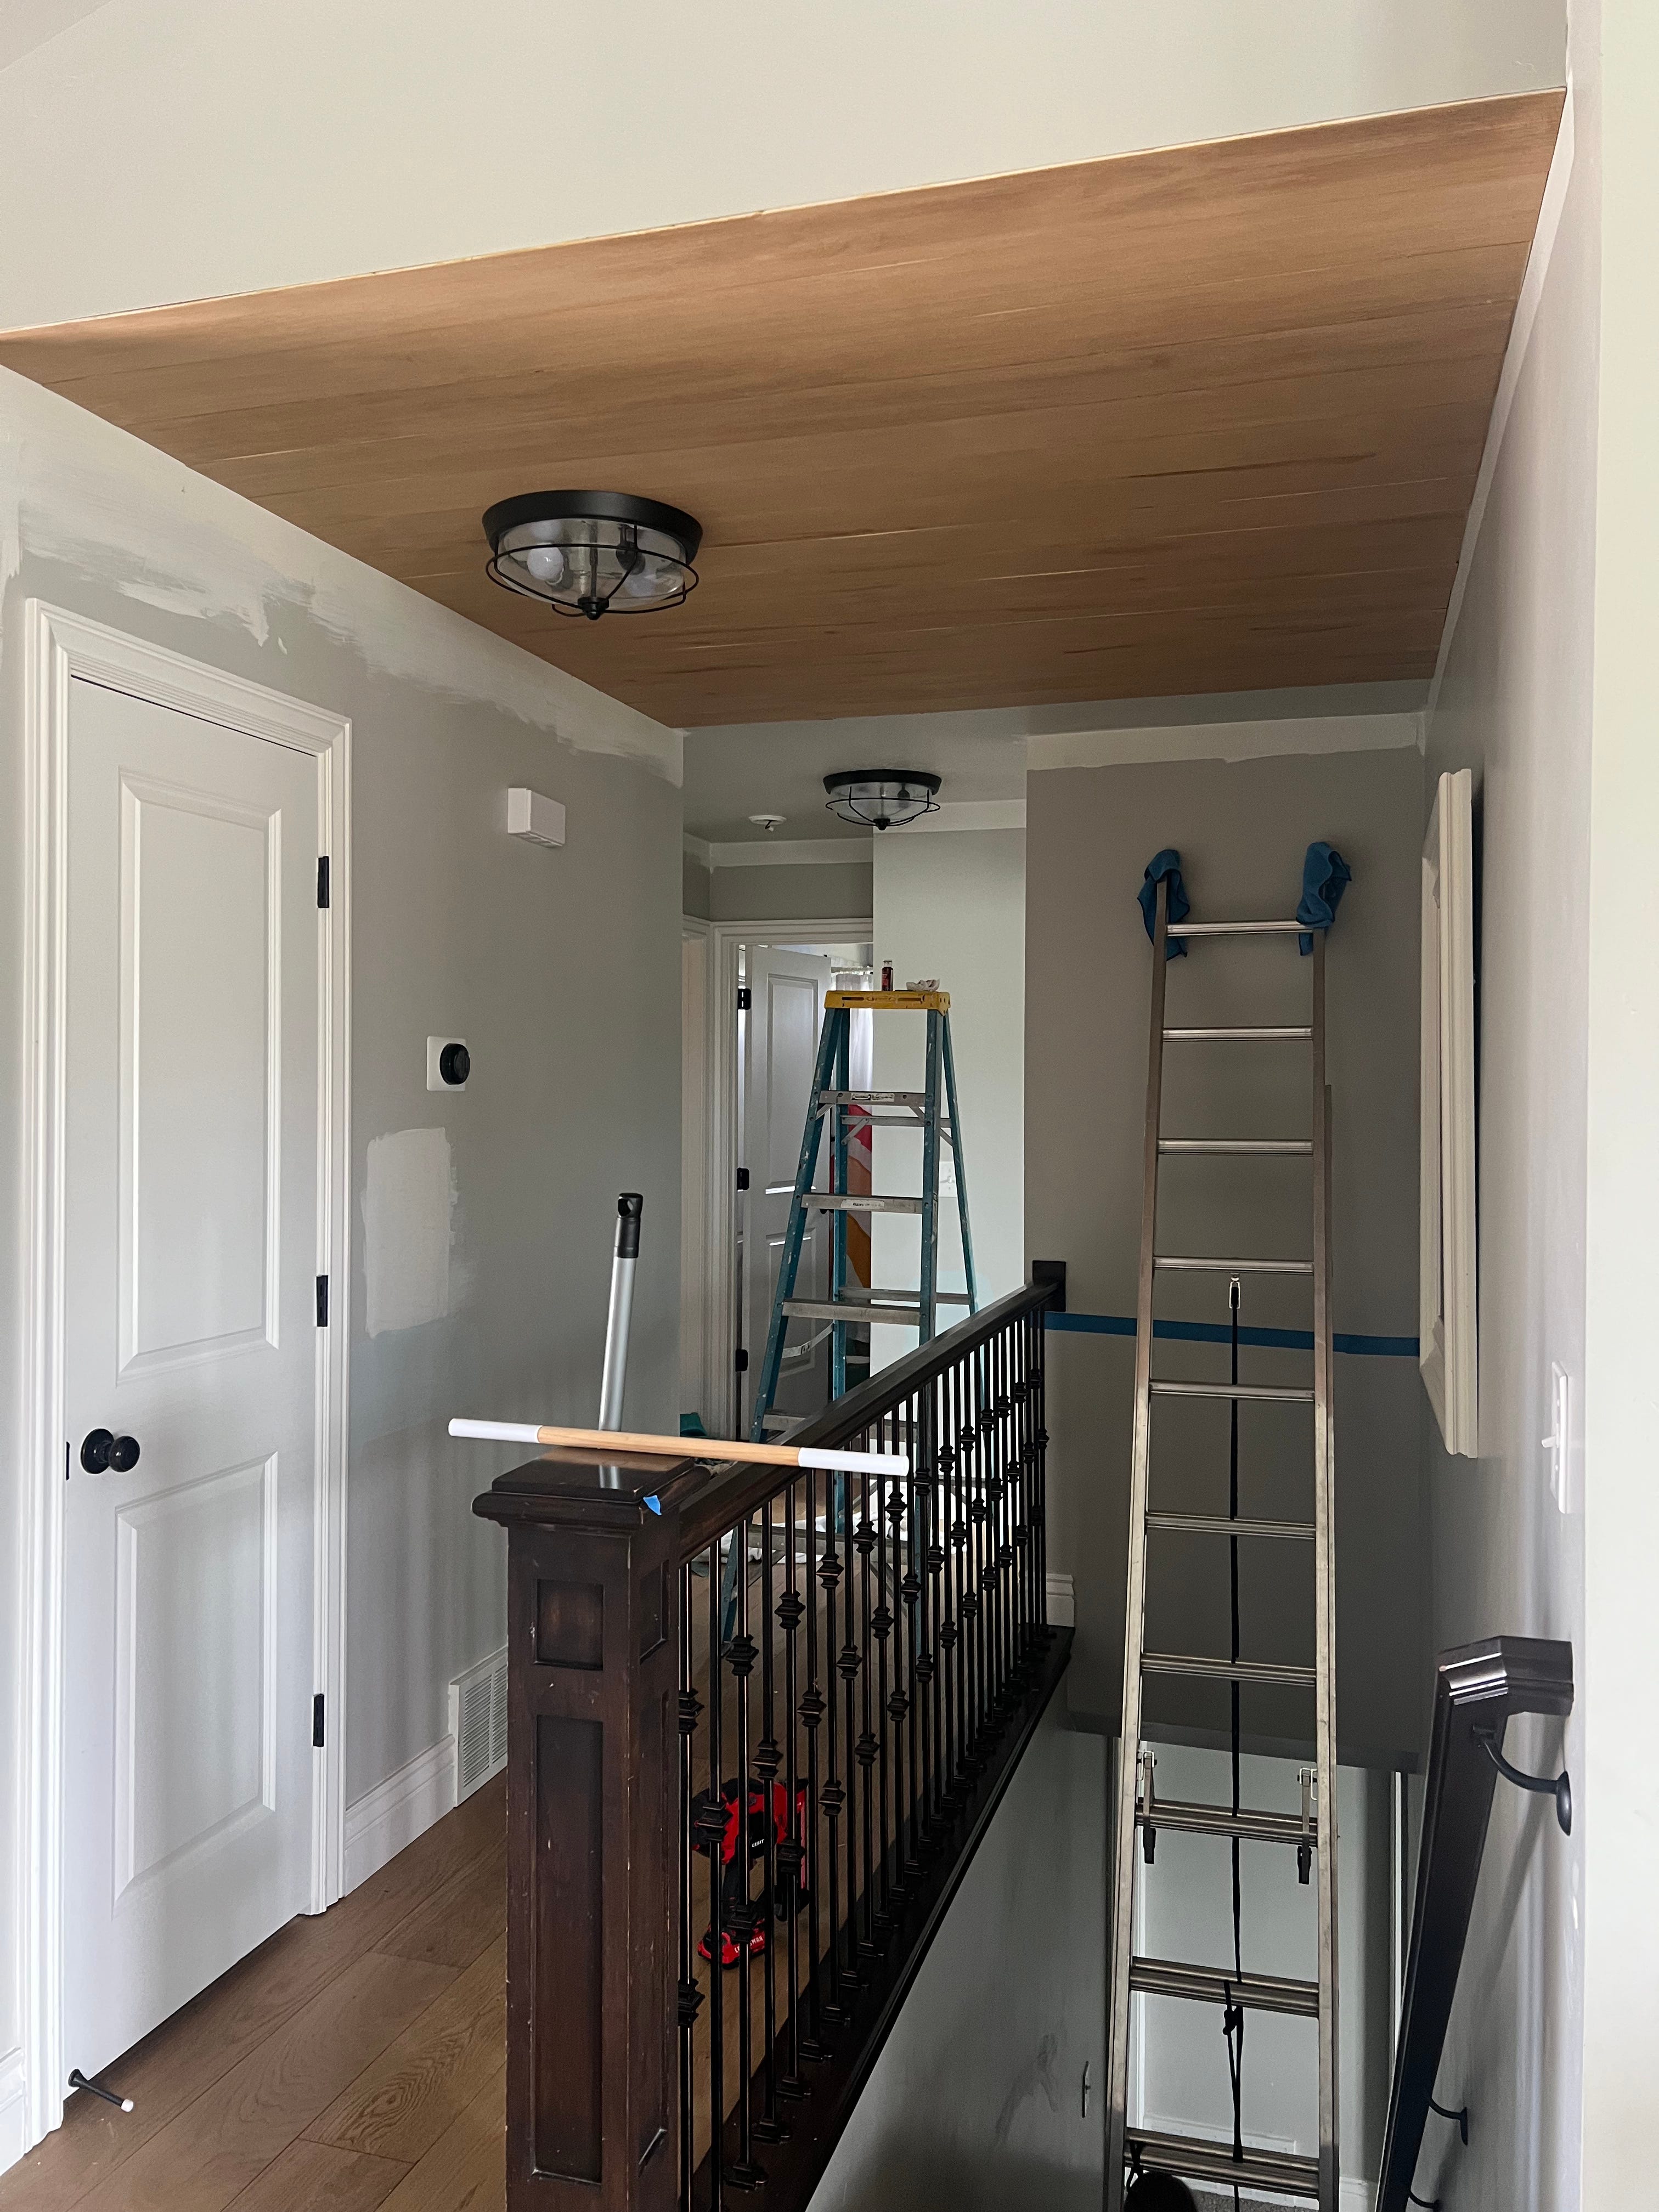
Deciding which direction to run the planks was the hardest part for me. I originally planned to lay them perpendicular to the floors (horizontally), but after creating a quick mockup, I loved how they looked running parallel.
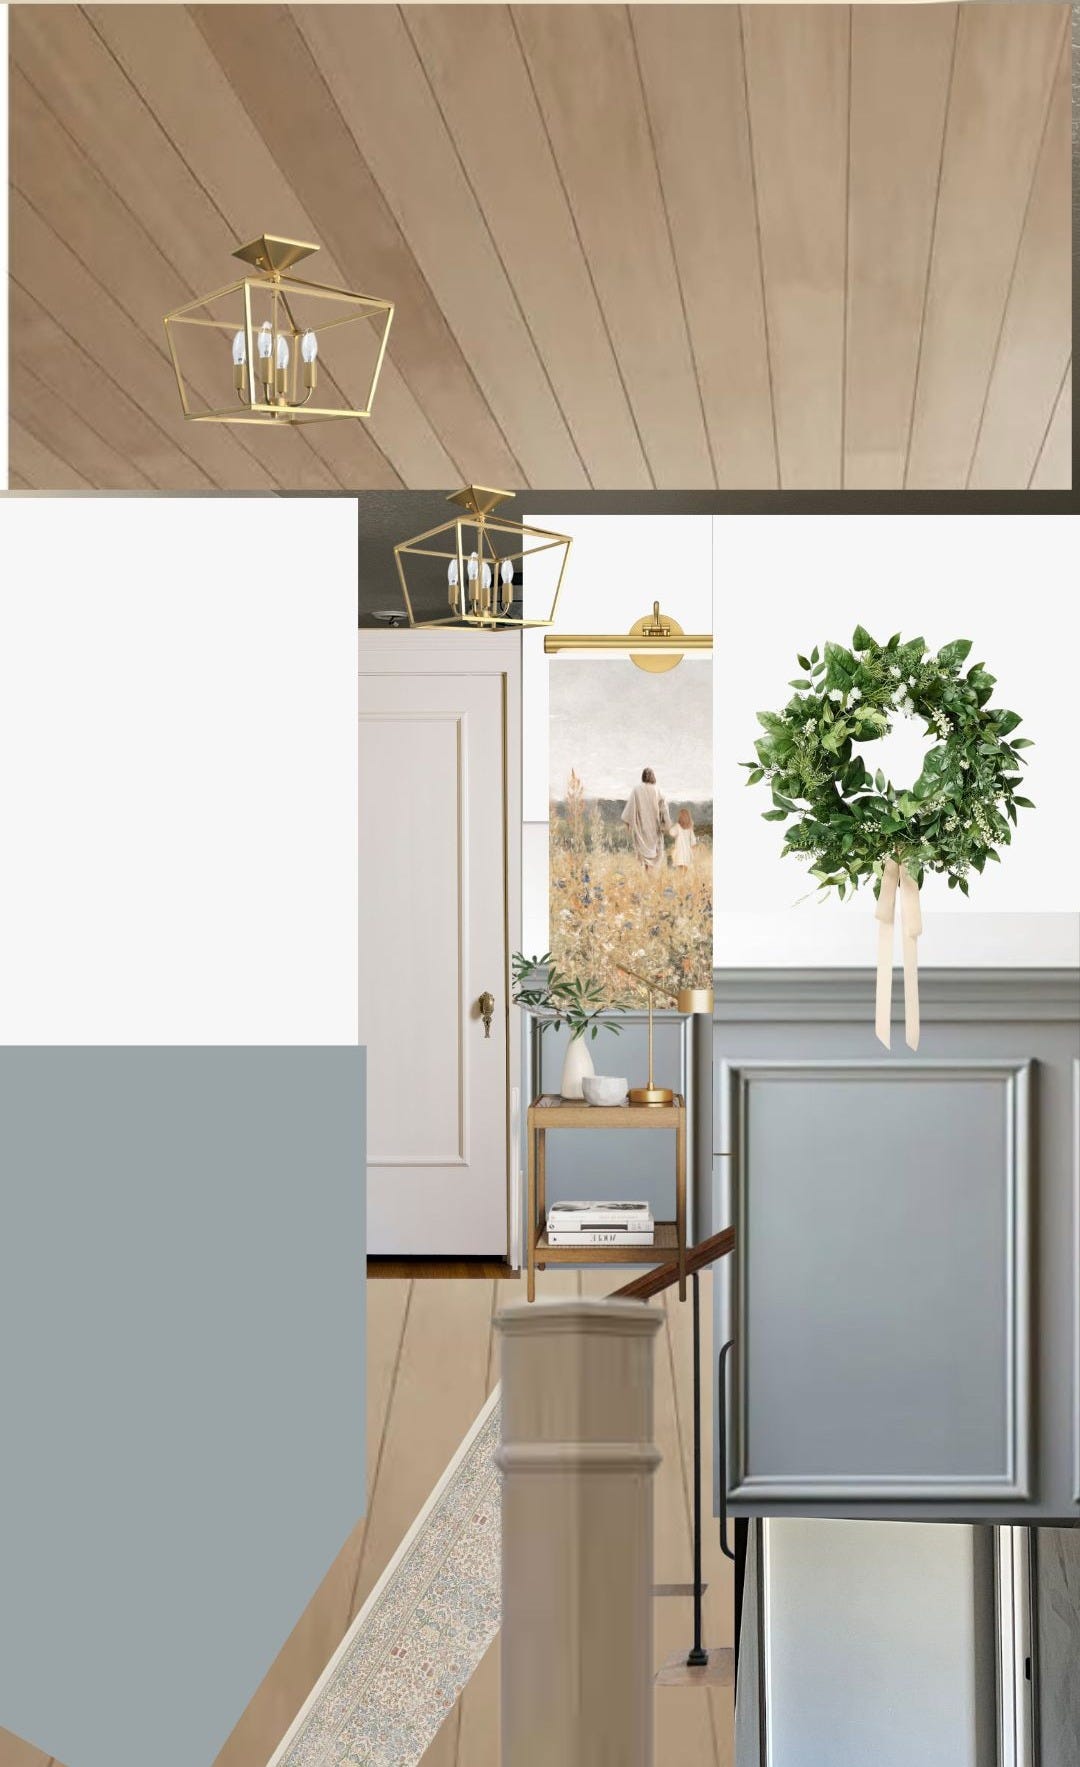
The challenge? The panels are only 8 ft long and our hallway is about 15 ft—meaning seams would be visible. I didn’t want to add beams to cover them, and I didn’t want to stagger the planks either, so I ended up sticking with my original plan: placing the planks perpendicular to the floors. Honestly, either option would’ve been an upgrade, so it was a win-win.
Materials I Used:
Tools:
Cost Breakdown
- 4 Plywood Sheets $83.92
-1 1/2 Lattice Strips (7) $11.98 each= $83.86
-Corner Molding- $30
- Stain + Pre Conditioner $44.44
- Sanding Sheets $9.98
- Staining Rags $7.98
Total Cost = $260.18 (some materials I already had on hand)
Prep Work
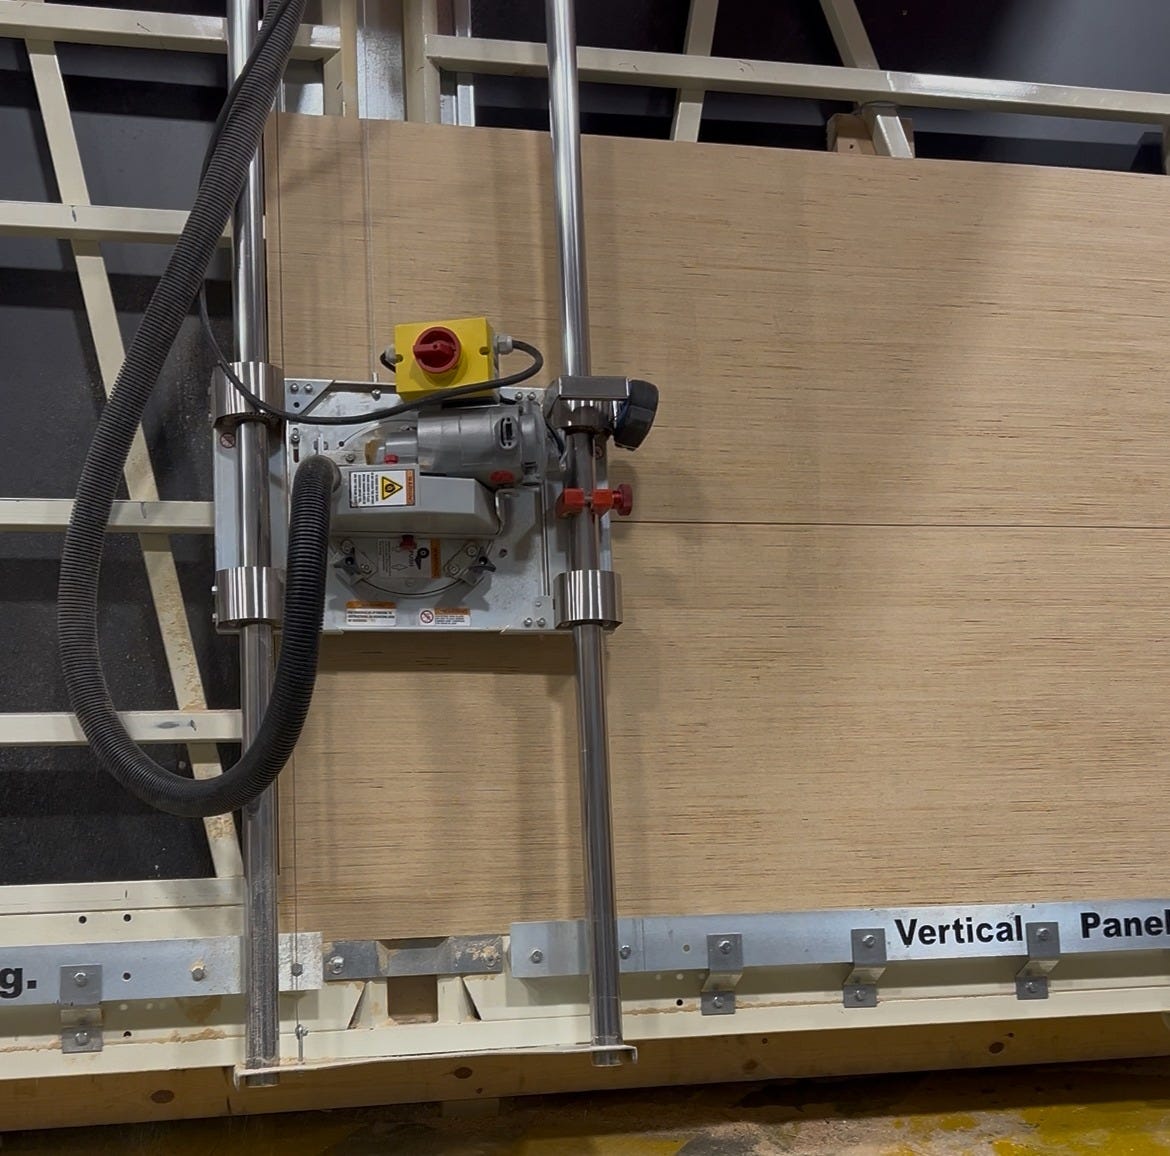
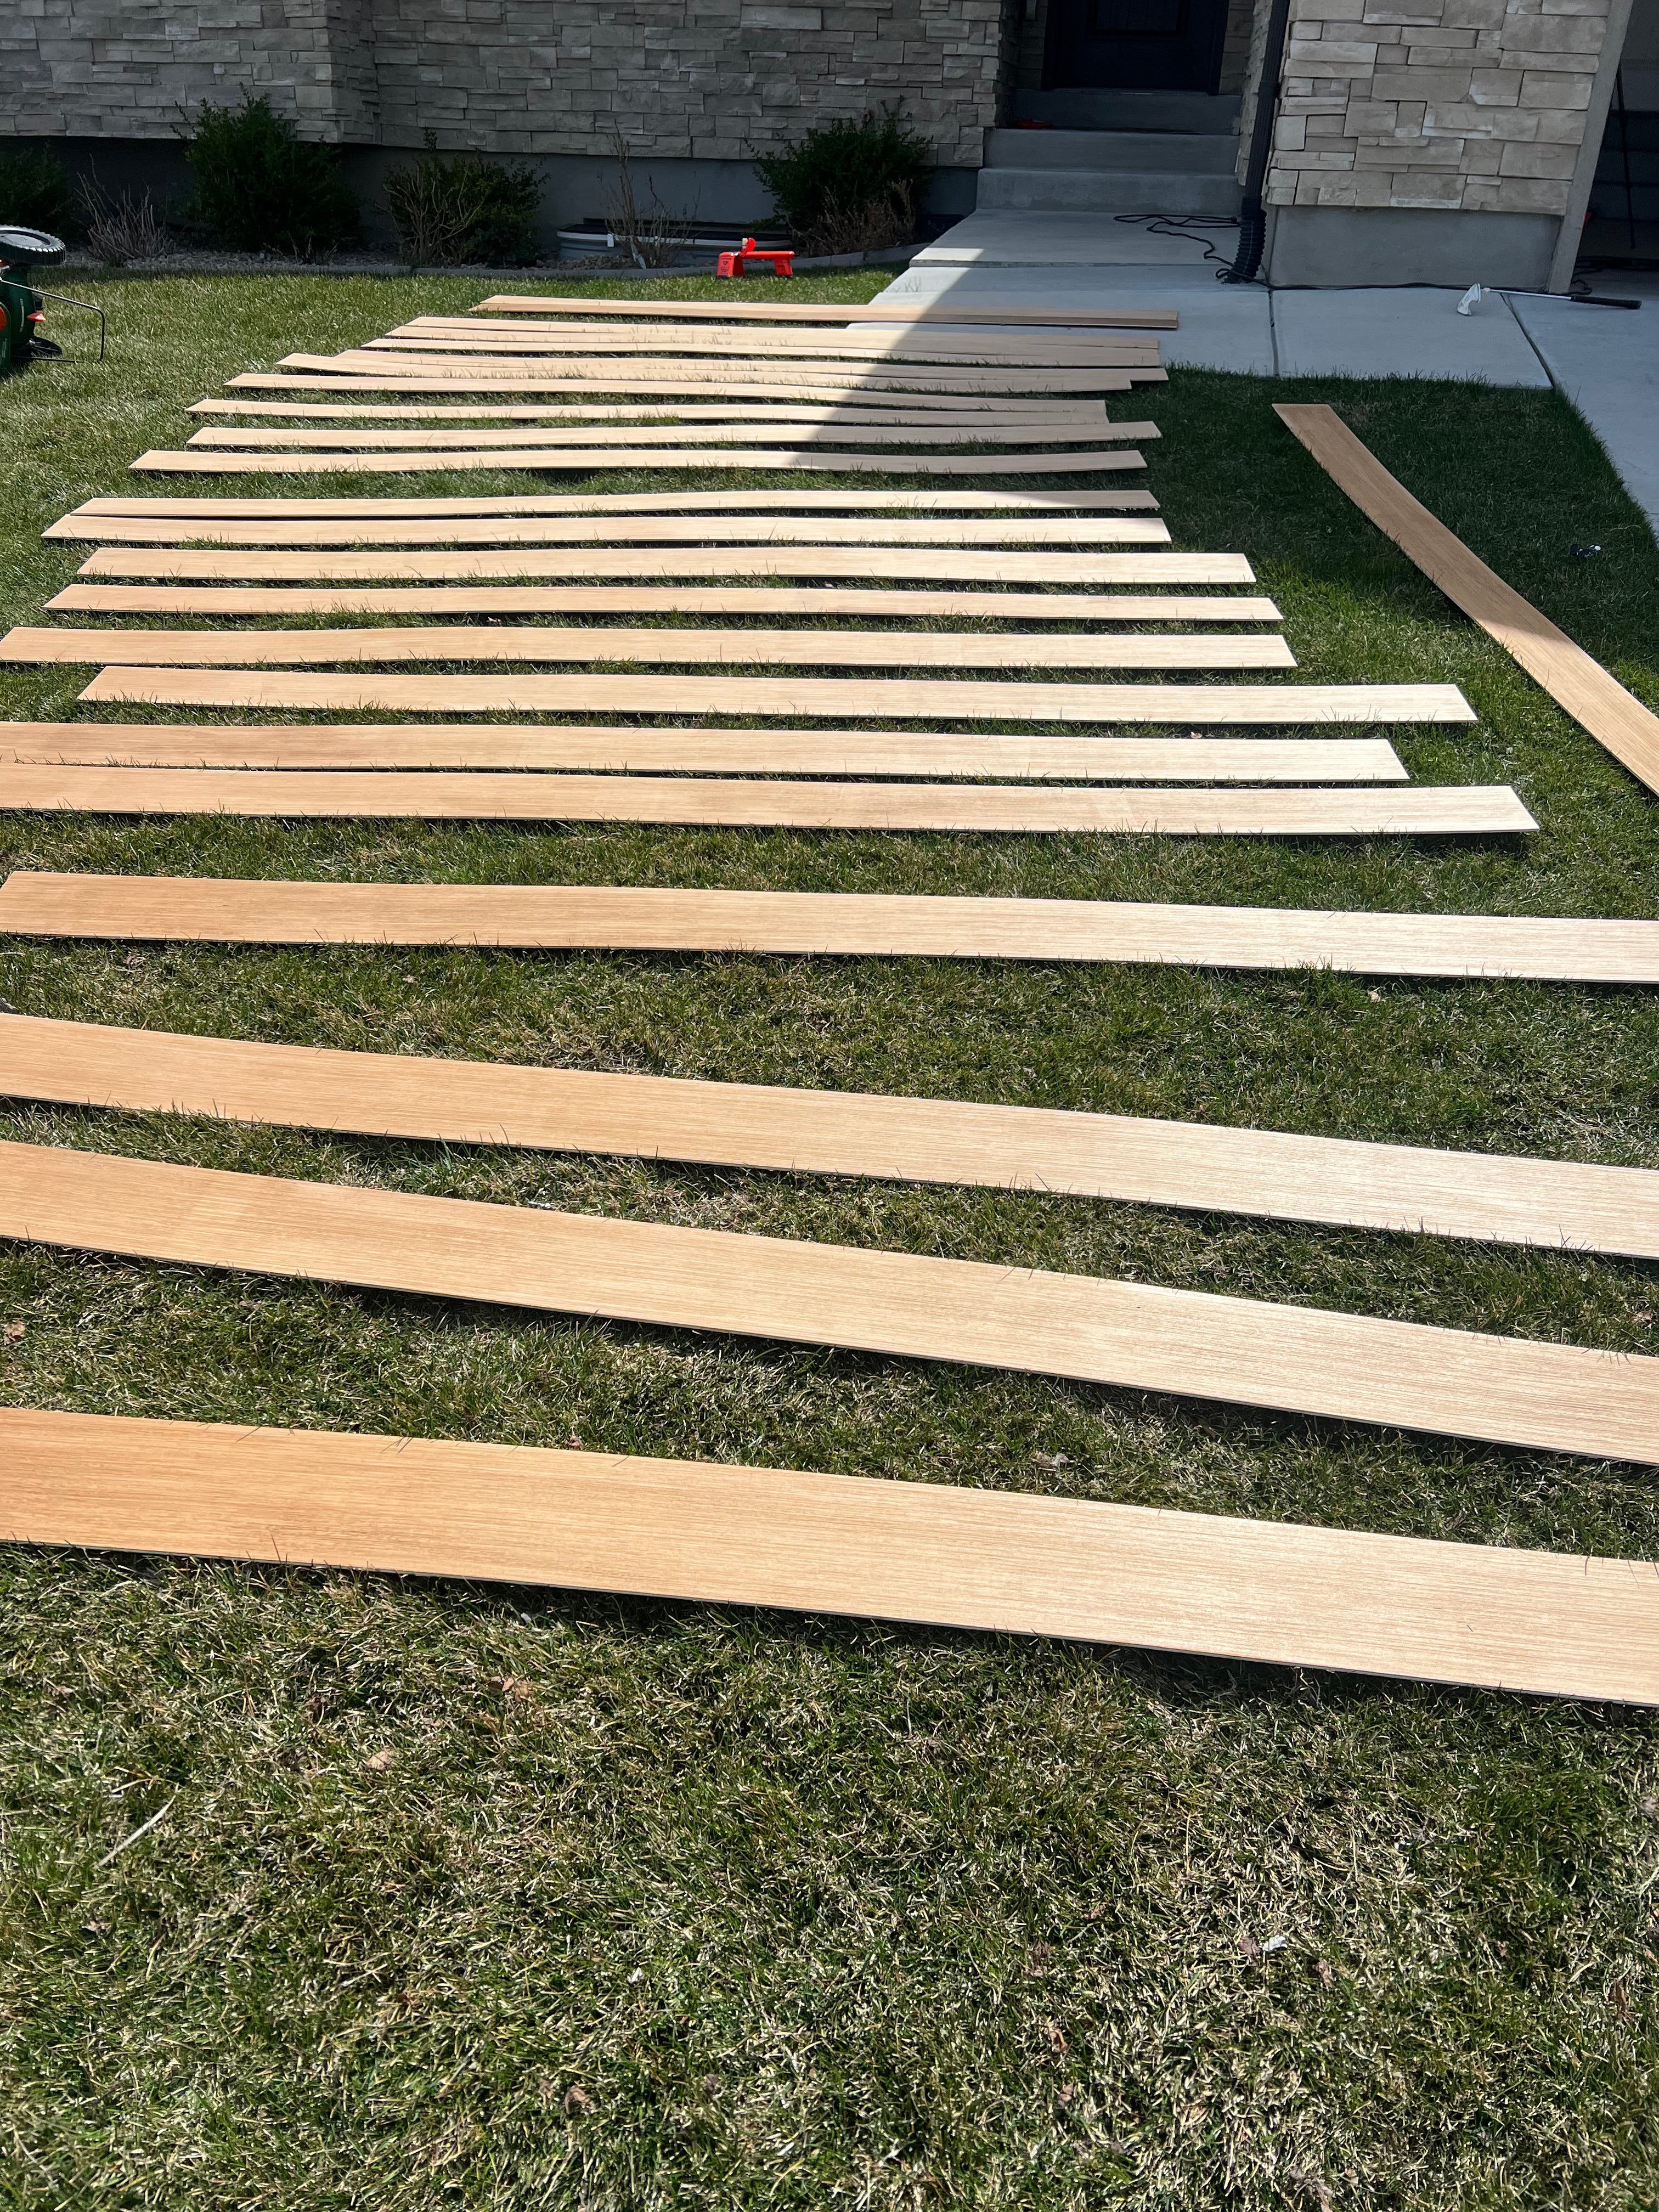
I bought all my materials at Lowe’s and had the plywood ripped in half at the store so it could fit in my car. At home, I used my table saw to cut the panels into 6” strips—getting about 8 planks per sheet. I ended up using four full sheets total.
After cutting, I sanded each plank using my orbital sander and 220 grit paper. This was the most tedious part (sanding is my DIY nemesis), so I split it into two days to make it manageable. Video tutorial, you can watch HERE.
Staining the Planks
Once sanded, I applied pre-stain wood conditioner to each plank for a smoother, more even finish. After letting them sit outside for 15–20 minutes, I started staining.
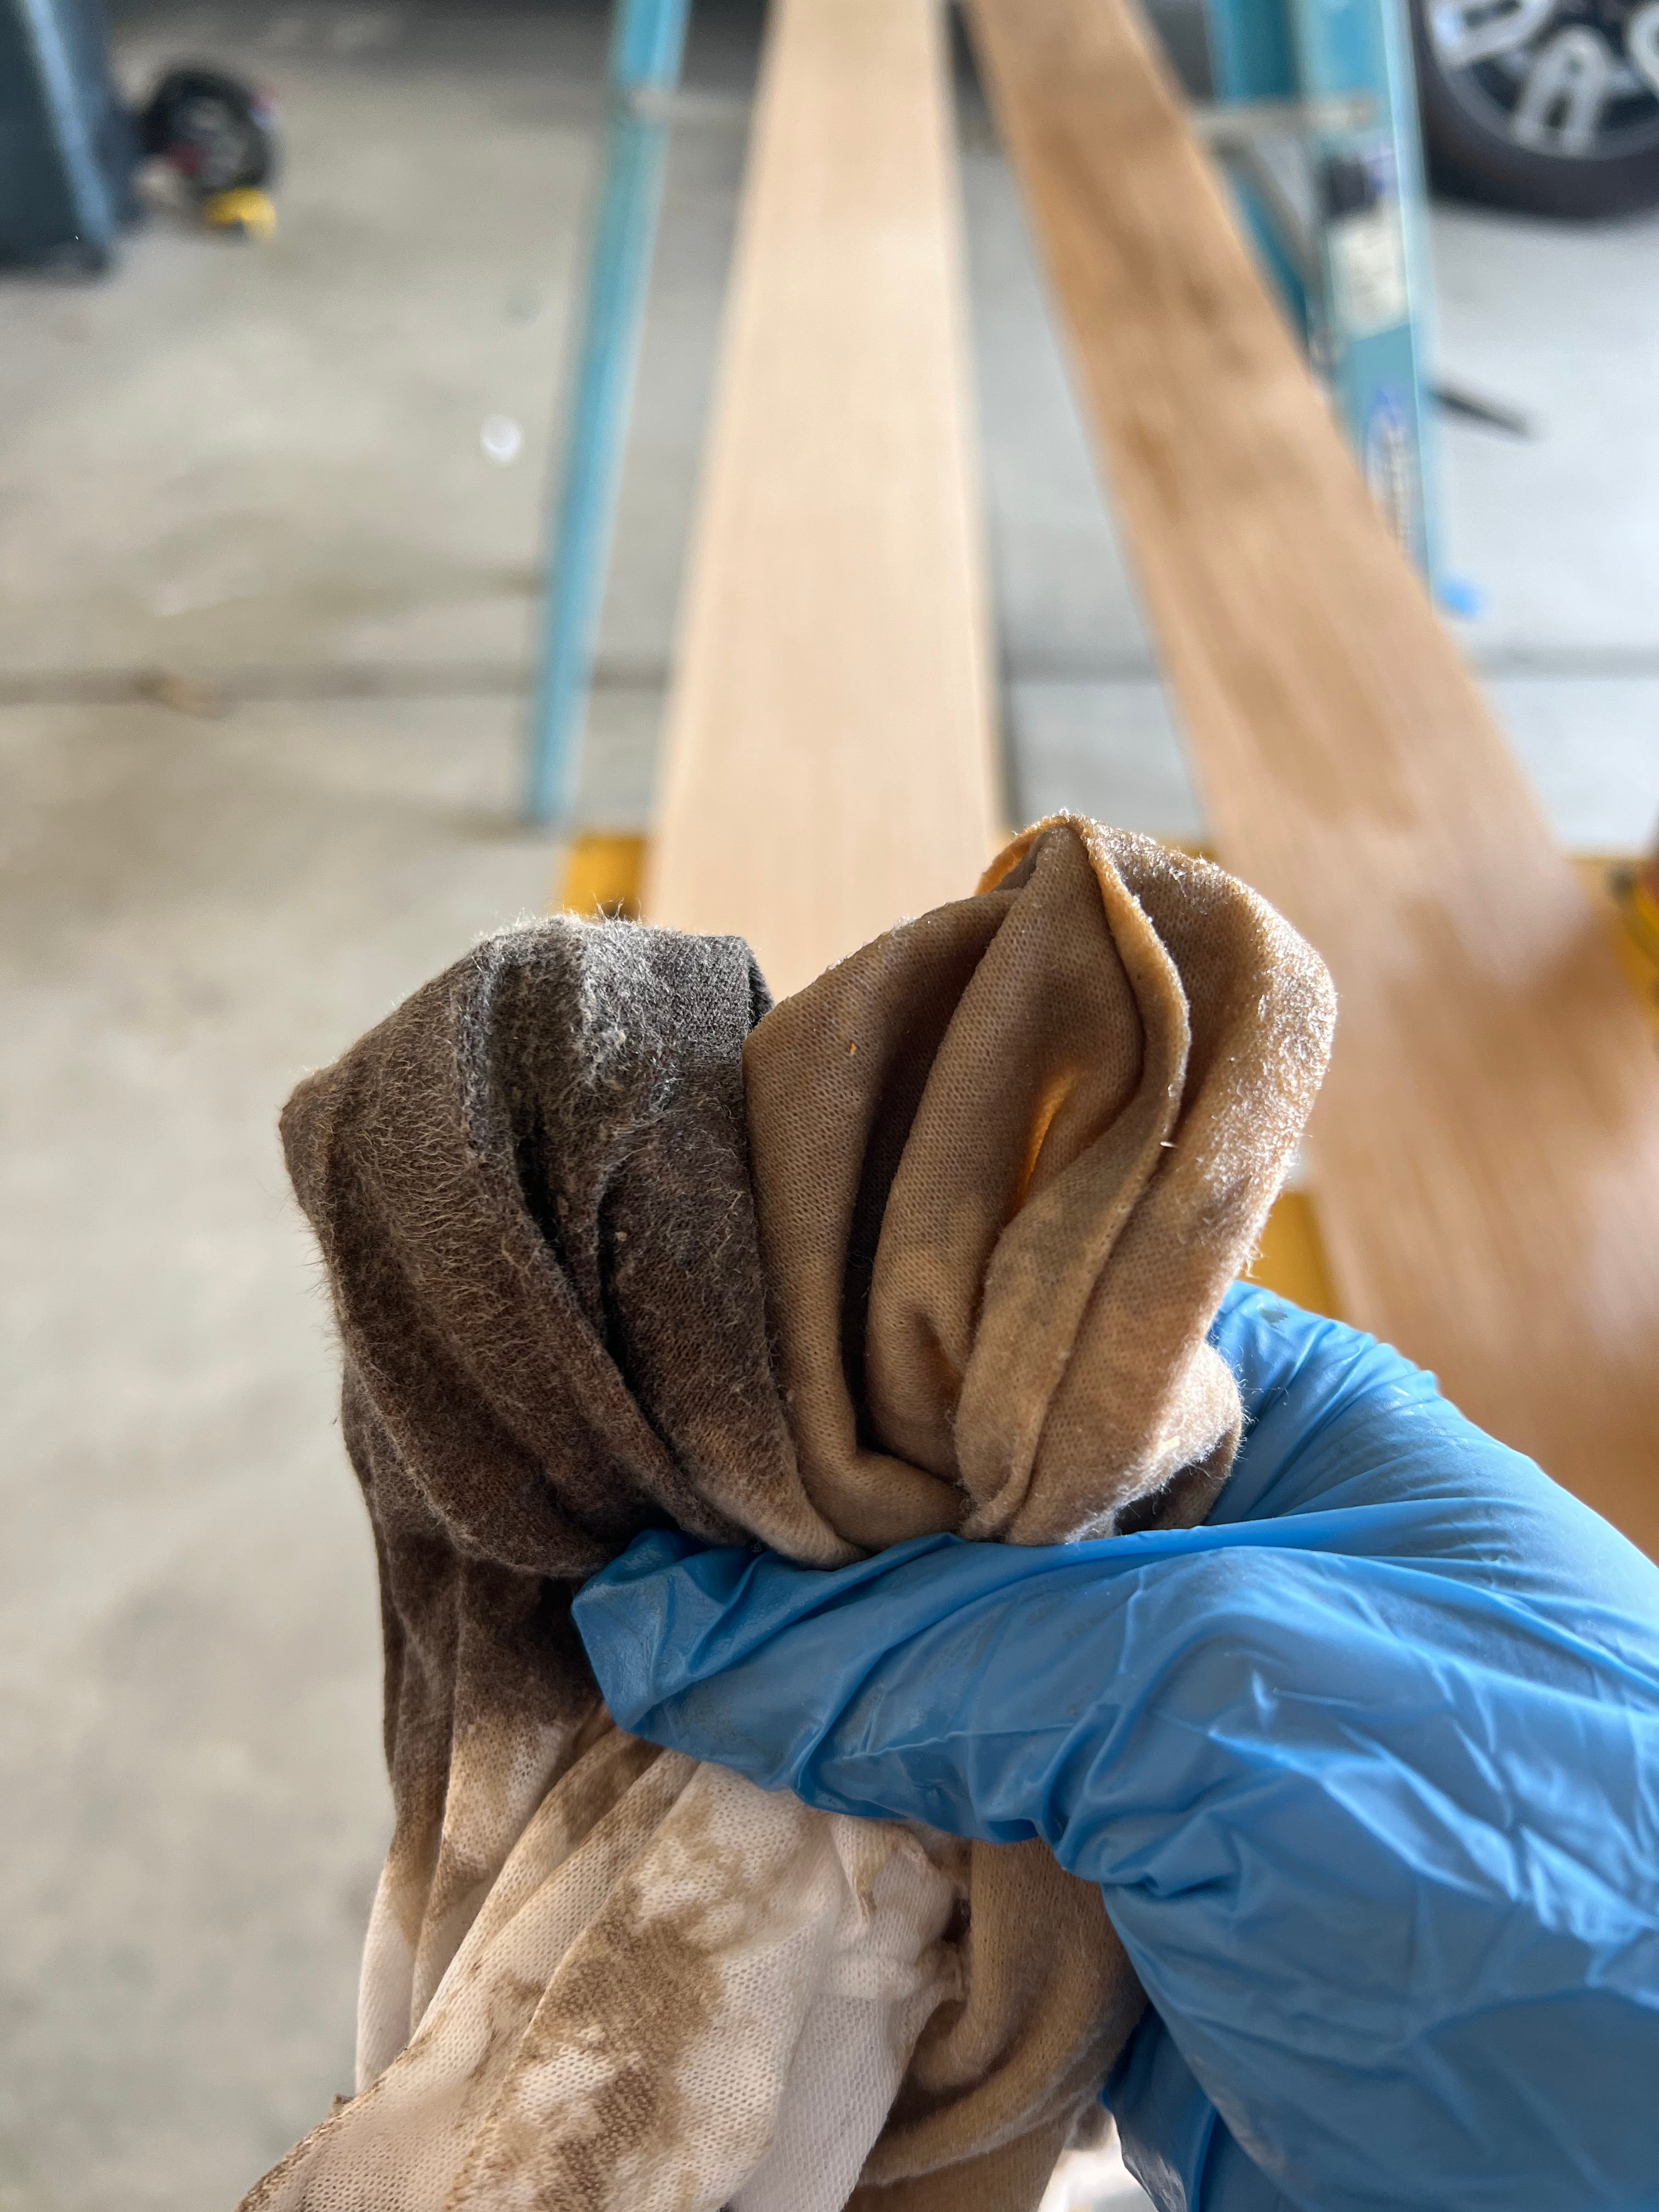
The winning combo for me:
• A fully saturated rag with Weathered Oak
• A touch of Early American stain on a separate rag for depth
I show the staining technique in [this reel]. I loved the warm, layered look—light overall, but with enough variation to feel rich and natural.
Installation Tips
First, use a stud finder to locate and mark ceiling joists. You’ll want to nail into those whenever possible for a secure hold.
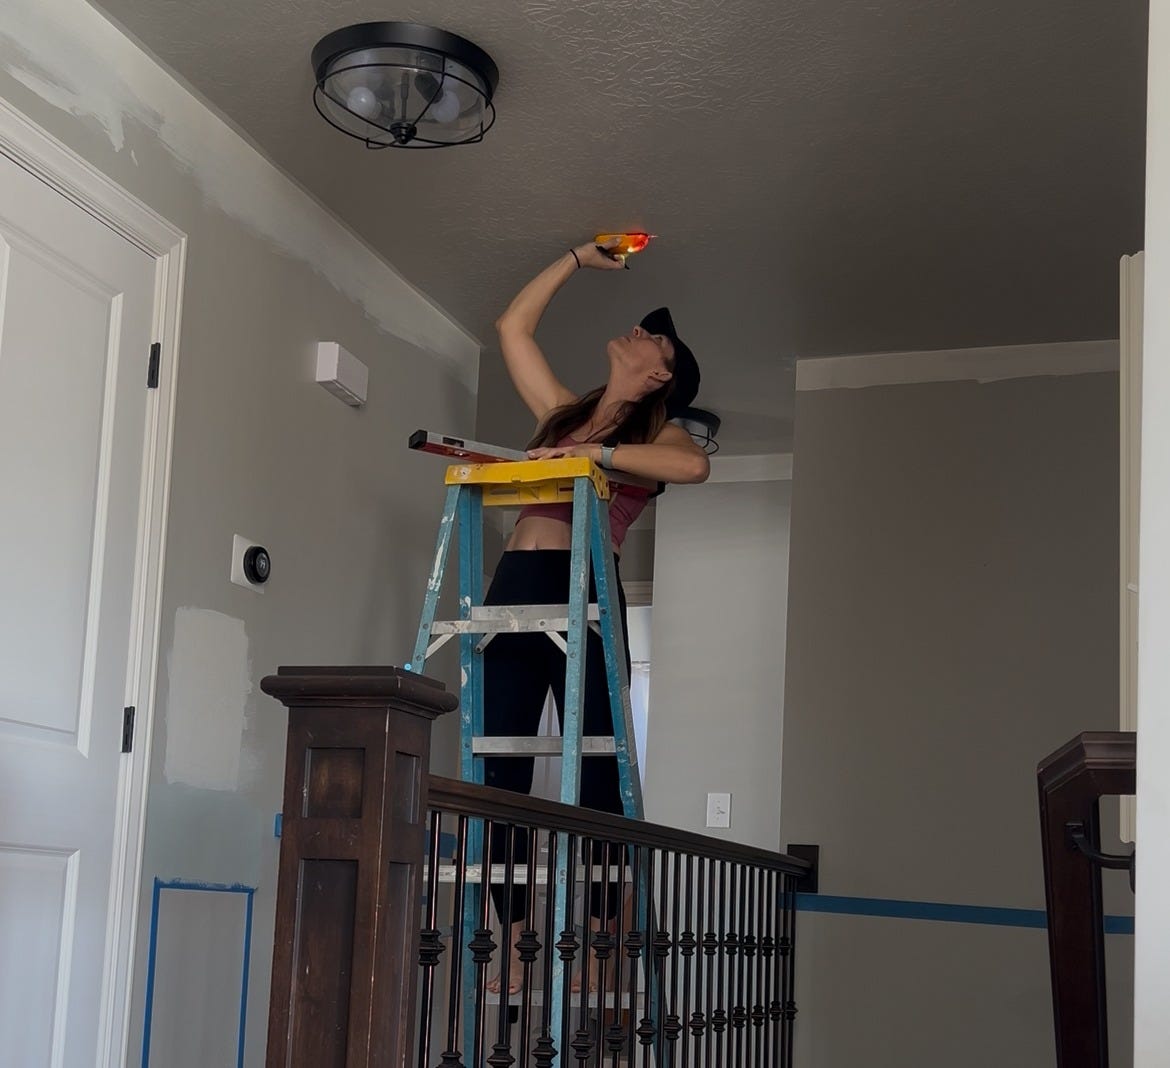
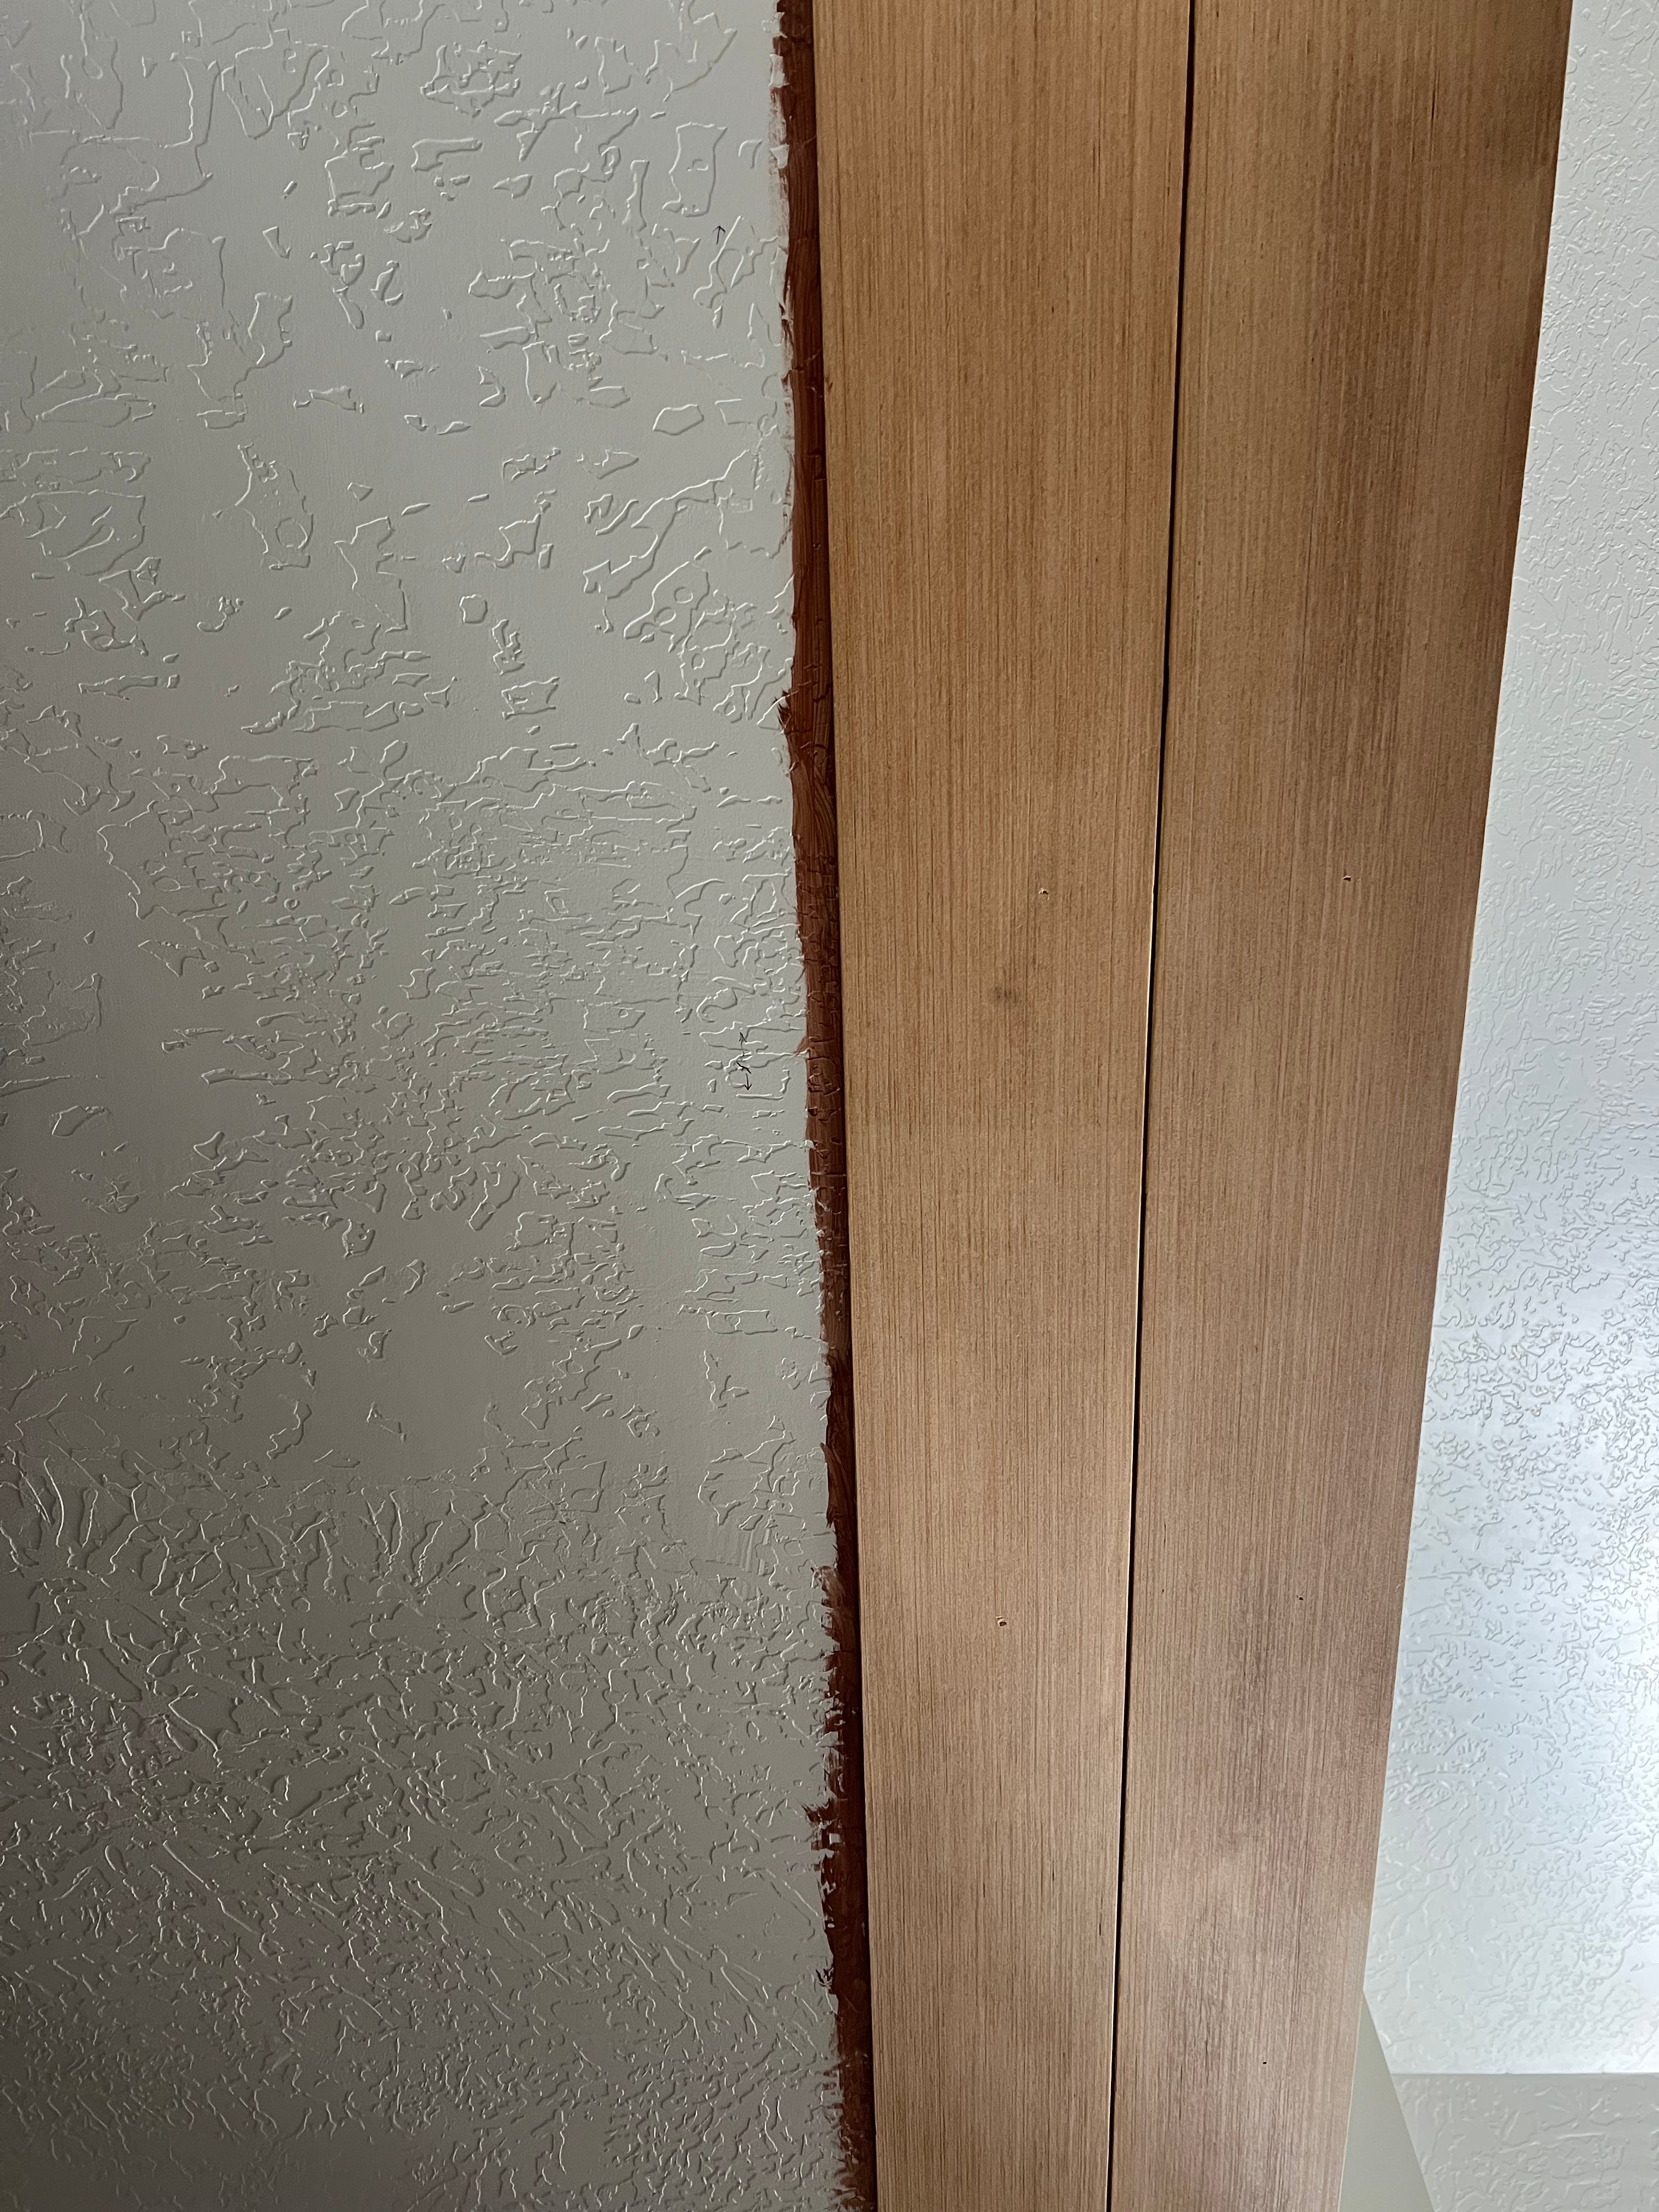
We applied small dabs of Liquid Nails to the back of each plank, then lifted it into place and nailed it in. Once one plank was up, I painted the seam with brown acrylic paint, just because that was what I had on hand (since our ceilings are gray and I didn’t want that peeking through). This little step mimics the look of tongue and groove and adds a polished touch.
To space the planks evenly, I used a quarter as a spacer—wedging it between each board before nailing. This trick worked perfectly!
Pro tip: I walk through the painting + spacing step in [this reel] for my visual learners!
Tricky Spots
The staircase section was… terrifying. 😅
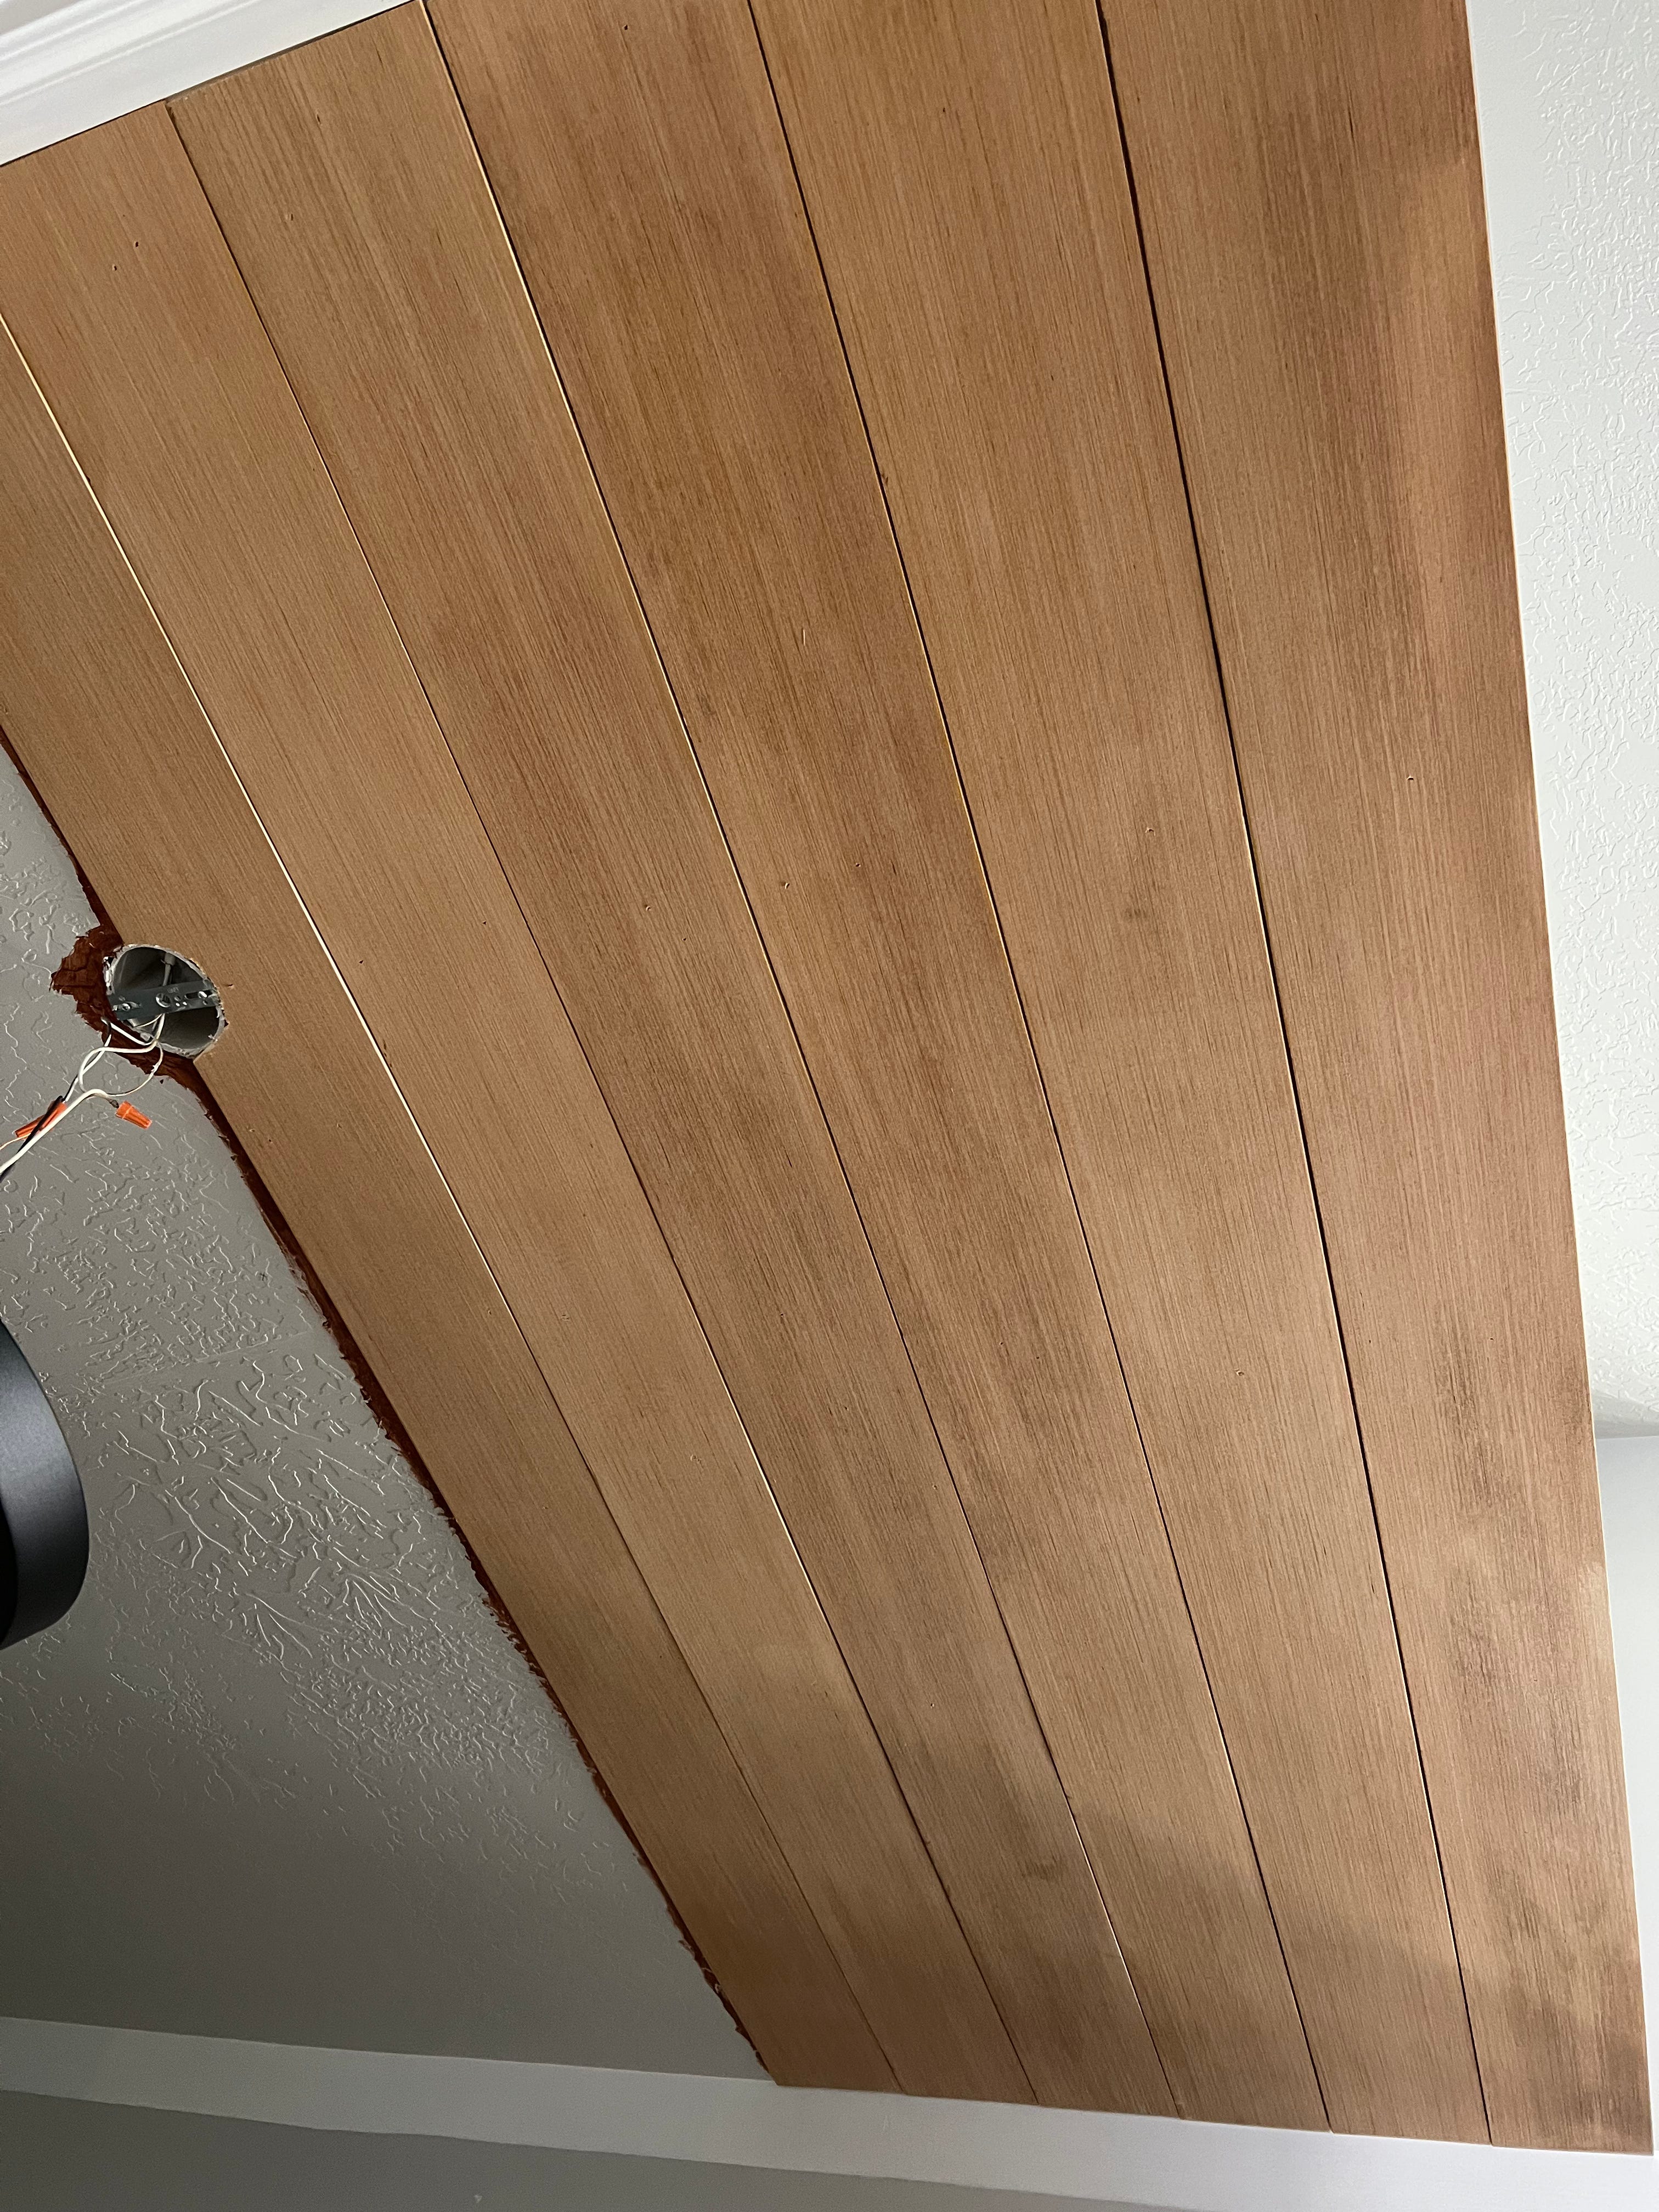
Also, cutting around the light fixture junction boxes was a bit of a pain. We used an oscillating multi-tool—not ideal, but it worked since the fixtures would cover any imperfections. I share that part in [this reel] too.
Finishing Touches
Once all the planks were up, I added a 1 ½” lattice trim border. This part almost broke me. I accidentally bought the wrong width, installed it, and had to tear it all down. A couple days (and one extra Lowe’s trip) later, I re-stained the correct trim pieces and reinstalled them.
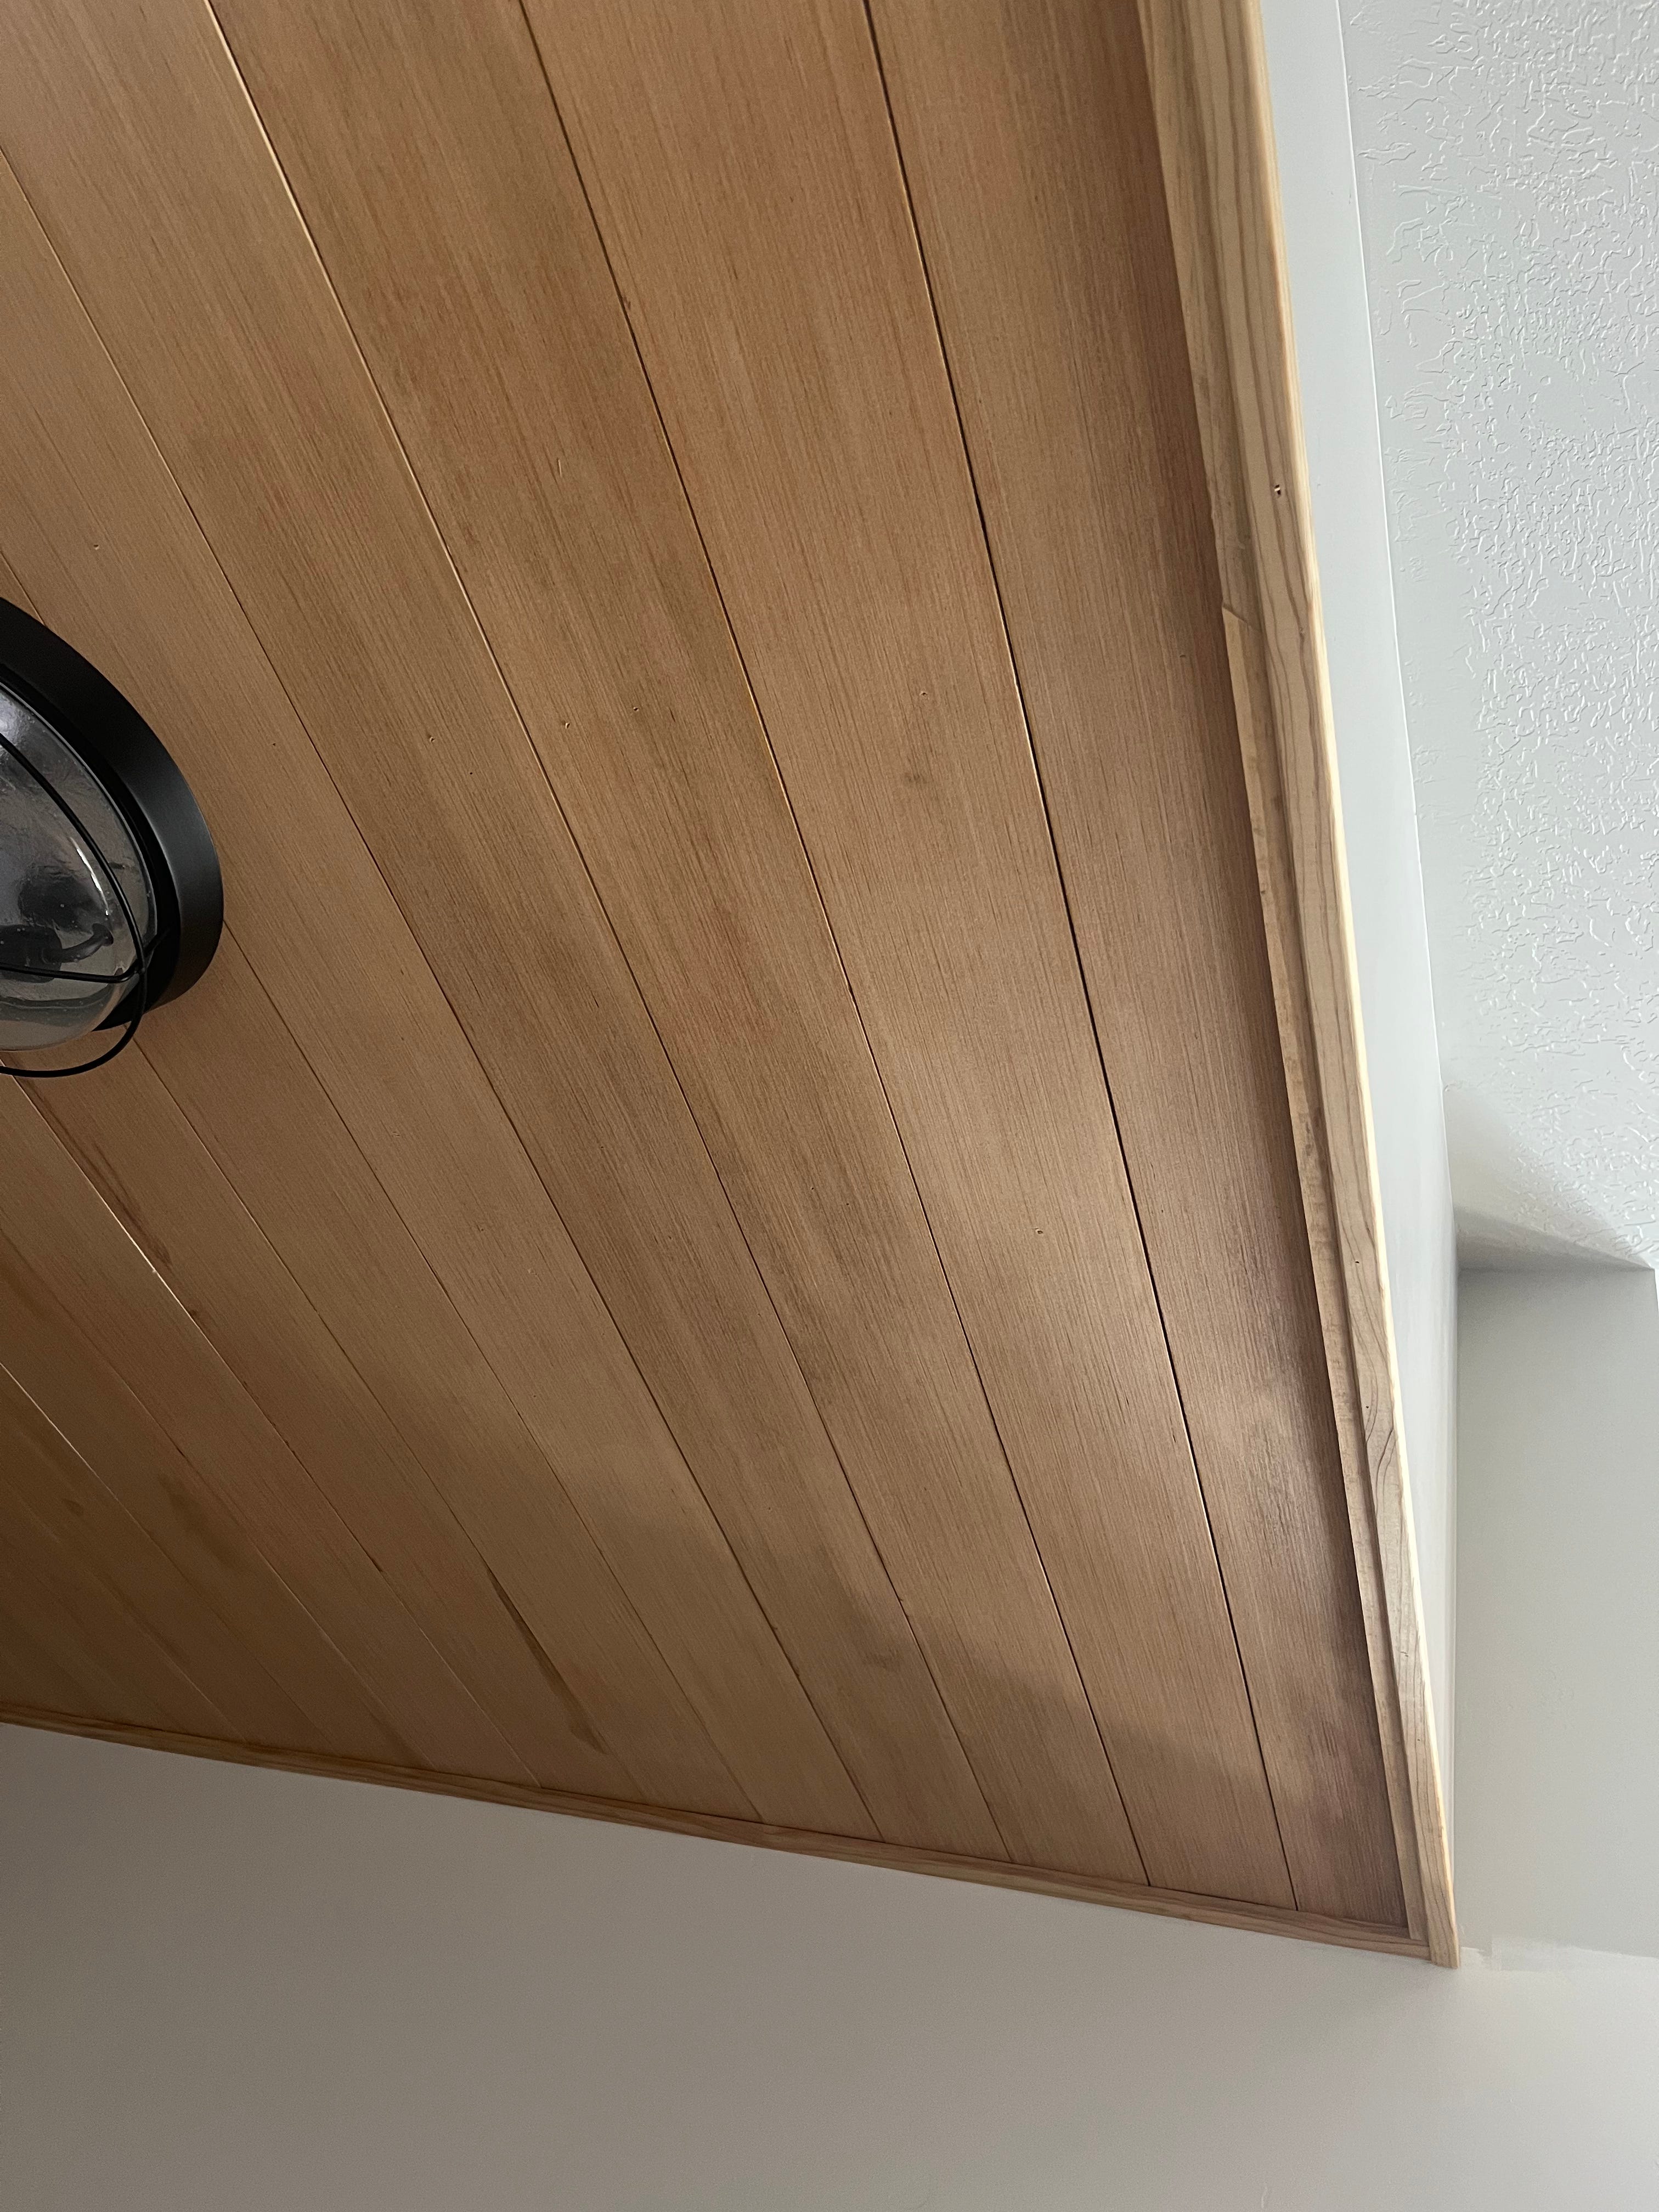
I used simple butt joints for the corners, but I’ll probably go back and miter a few pieces soon—those gaps are already bugging me. 😅
Final Thoughts
If you’ve been thinking about adding character to your home—this is your sign!
Yes, it requires a few tools, but if you don’t own them, check if your local home improvement store offers rentals. And if you plan to take on more projects, this might be a great time to invest in a table saw and brad nailer.
Depending on your ceiling size (and your patience), you could totally finish this in a weekend—and the impact is 100% worth it.
I can’t wait to finish this hallway. Stay tuned and follow along with me on Instagram for the final reveal!